The effect of water on light is frustrating when carrying out underwater photography. It reduces the quality and quantity of light on an object.
Therefore, underwater photography requires advanced expertise to combat the absorption of light. It is vital to comprehend this challenge's facets to proffer the right solution and have excellent shots and footage underwater.
This concept is different from land photography, where you have enough light. Underwater, the lighting is different, that's why you must understand how it works to have a nice photo.
So, want to become an expert in underwater photography? Read on, as we explain the underwater colors and light fundamentals for photography.
Color Loss Underwater
When it comes to density, water is 800 times denser than air. This is the reason why water absorbs light faster than air. The effect of this includes a decrease in sharpness of image or video, having dull and monotone colors. You'll experience more blue hue patches on the photo because of water influence.
However, recent photo artists have a way of dealing with this difficulty and, at the same time, produce a great shot underwater. There are standard solutions to the problems you'll encounter underwater, such as the blue shade and light absorption.
Based on the colors of the rainbow (ROYGBIV) and they get absorbed at different frequencies. Also, parts of light vanish at various wavelengths. For instance, red vanishes at about five meters, orange at 10 meters, green at 30, and blue at 60 meters.
Underwater photography needs an extra hand to make up for the blurriness and hue deficiency. Hence, photographers use artificial light underwater or strobes for underwater shooting to augment the color loss underwater. You could get a clear picture underwater with the only camera, but strobes make them sharper.

Compensation of Color Underwater
Color loss is the biggest challenge most photographers encounter during underwater shooting. The density of water causes a high absorption of light in the pictures leaving behind the blue shade. This hue stain results from filtering various light colors in water with the only blue and green left.
At about four meters, the red part of the light is no more. Then, when you get to 25 meters, you only have the light spectrum's blue aspect. So, how do you compensate for the color loss underwater? Here are a few methods:
Use Underwater Strobes
There is color loss with light penetrating water, so you must make up for lost hue. You achieve this compensation with an artificial lighting source. Underwater strobes can help restore lost color and contrast in photos. You can also employ filters.
These elements help to put back the lost colors by emitting a balanced light. They also enhance the contrast, maintain details, and improve the warmth and texture.
Strobes can supply light in a shadow environment, which is a dominant effect underwater. It can increase your underwater photography expertise.

Apply Color Correction Filter
Some filters can help put back the red color into pictures taken at various depths. The UW filters' efficacy is under scrutiny because it only improves an available light and does not supply more. Hence, if the light has crossed the wavelength for color, the filter blocks it from the lens.
Color Correction Editing Tools
You can also improve the color of an underwater photo by editing with the right programs. Using some editing software for graphics improvement, like Photoshop, is another technique for correcting color. This process, known as color correction, may present some challenges due to its steps.
A user must change the exposure, use an assortment filter as well as enhance contrast settings. It takes quite a lot of time to complete since you may need to add color to the picture. But if done expertly, it can change a drab underwater photo into a beautiful masterpiece.
Reflected Light for Underwater Photography
Thankfully, underwater photographers can make use of the phenomenon called "total internal reflection. This is observed between media, at distinct, planar boundaries, with varying indices of refraction. It commonly occurs at thermoclines, the ocean's surface, and haloclines.
Knowing how to make proper use of this reflection is key. Here are a few underwater photography tips to make the best use of reflections.
1. Attempt finding the subjects that are closer to the surface.
2. Surfaces that are calm and clear make the best use of reflections. It is best to take your shots in the early morning, as there is little to no wind.
3. Practice snorkeling. It helps to find more surface objects with great reflections.
4. Try shooting at the indo-pacific regions. It is advisable to do it at a place with a lot of surface subjects. At night, in a boat, turn some lights on as it attracts creatures to the surface.
You should control your breathing because bubbles could be unsettling to the surface. You can overweight yourself to make it easier to hold your breath.
Research in physics tells us that the best angle for optimum reflection is 42 degrees. This means positioning yourself right under the subject won't get you that reflective shot. Instead, move away from the subject, past 42 degrees, towards the surface.

Use AKASO Dive Mode Underwater
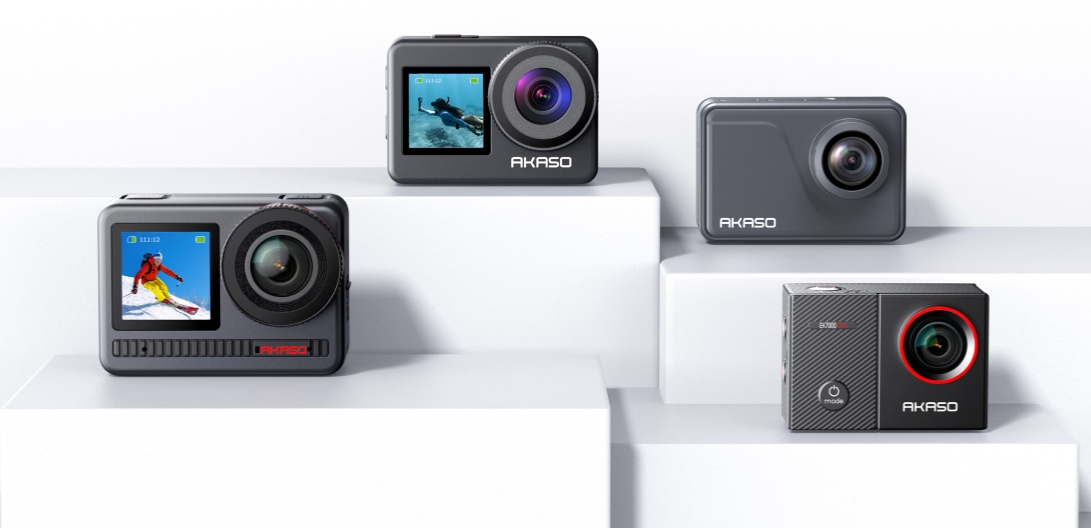
Most action camera brands have models that come with impressive feature to help users get the best shots underwater. One such brand is AKASO, which offer the "Dive Mode" feature to its action cams.
So, what can dive mode do? The diving mode is an essential feature for the more daring and adventurous photographers who dive deep under the ocean.
Technically, the Dive Mode feature is a stand-in for the absence of red light underwater. It counters the underwater lighting effects and corrects the color loss. It is also an essential feature that will help you get the best result when shooting in tropical and blue water.
The AKASO Dive mode works great between 10 feet to as high as 80 feet. This undoubtedly makes it a suitable water camera that can take your underwater photography to the next level.

How to Turn on AKASO DIVE Mode
AKASO Dive mode is an essential feature for underwater photography. But how can I turn the ON the AKASO dive mode feature? Well, it is quite simple.
First, press the "Mode" button to turn on the device. You will see the video, photo, SD card, and setting methods.
Afterward, Press the Mode button three times to switch to General Setting, and then press the Select button. Once you select the setting, scroll to "Diving mode," and then press the 'select' button to open. Once it opens, Turn 'ON' the mode.
When you are done using the camera for underwater photography, hold down the mode button for some seconds to turn off the camera.


