Every ride has a story worth capturing, from scenic road trips and mountain trails to casual rides with friends. But how do you film yourself and the ride without constantly adjusting your camera?
That’s where the AKASO 360 comes in. Capture everything in 5.7K 360° video, then choose your favorite angles after the ride. Whether you want POV footage, a selfie-style shot, or a floating third-person view, there’s plenty of room to get creative.
In this guide, we’ll cover the essential cycling accessories, five camera angles to try, and practical tips to help you get more out of every ride.
1. AKASO 360 Cycling Combo: Everything You Need in One Box
Getting ready to film your cycling adventures? The AKASO 360 Cycling Combo brings together the camera and essential accessories for your rides, so you don’t have to pick out every piece of gear separately.
What’s included in the box:
- AKASO 360 Camera × 1
- Battery × 2
- Protective Pouch × 1
- USB-C Cable × 1
- 120cm Invisible Selfie Stick × 1
- Seat Rail Support Mount × 1
- Seatpost Mount Clamp × 1
- Lens Cap × 1
Whether you’re heading out for a solo ride or exploring new routes with friends, the Cycling Combo gives you a dedicated camera setup for capturing your cycling adventures.
Explore the AKASO 360 Cycling Combo

2. 5 Best Cycling Camera Angles to Try
The way you mount your camera can make a big difference in how your cycling footage looks. Here are five setups worth trying with your AKASO 360.
2.1 Handlebar View
Mount your AKASO 360 on the handlebars to capture the road ahead and other cyclists riding in front of you. After shooting, use Reframe to turn the view toward yourself and create a selfie-style cycling video.
Camera mounting position: Bicycle handlebars.
Recommended accessories:
- AKASO Handlebar Bike Pole Mount: An A-Mount adapter is required and sold separately.
- Seatpost Mount Clamp: The Seatpost Mount Clamp included in the AKASO 360 Cycling Combo can also be used for handlebar mounting.
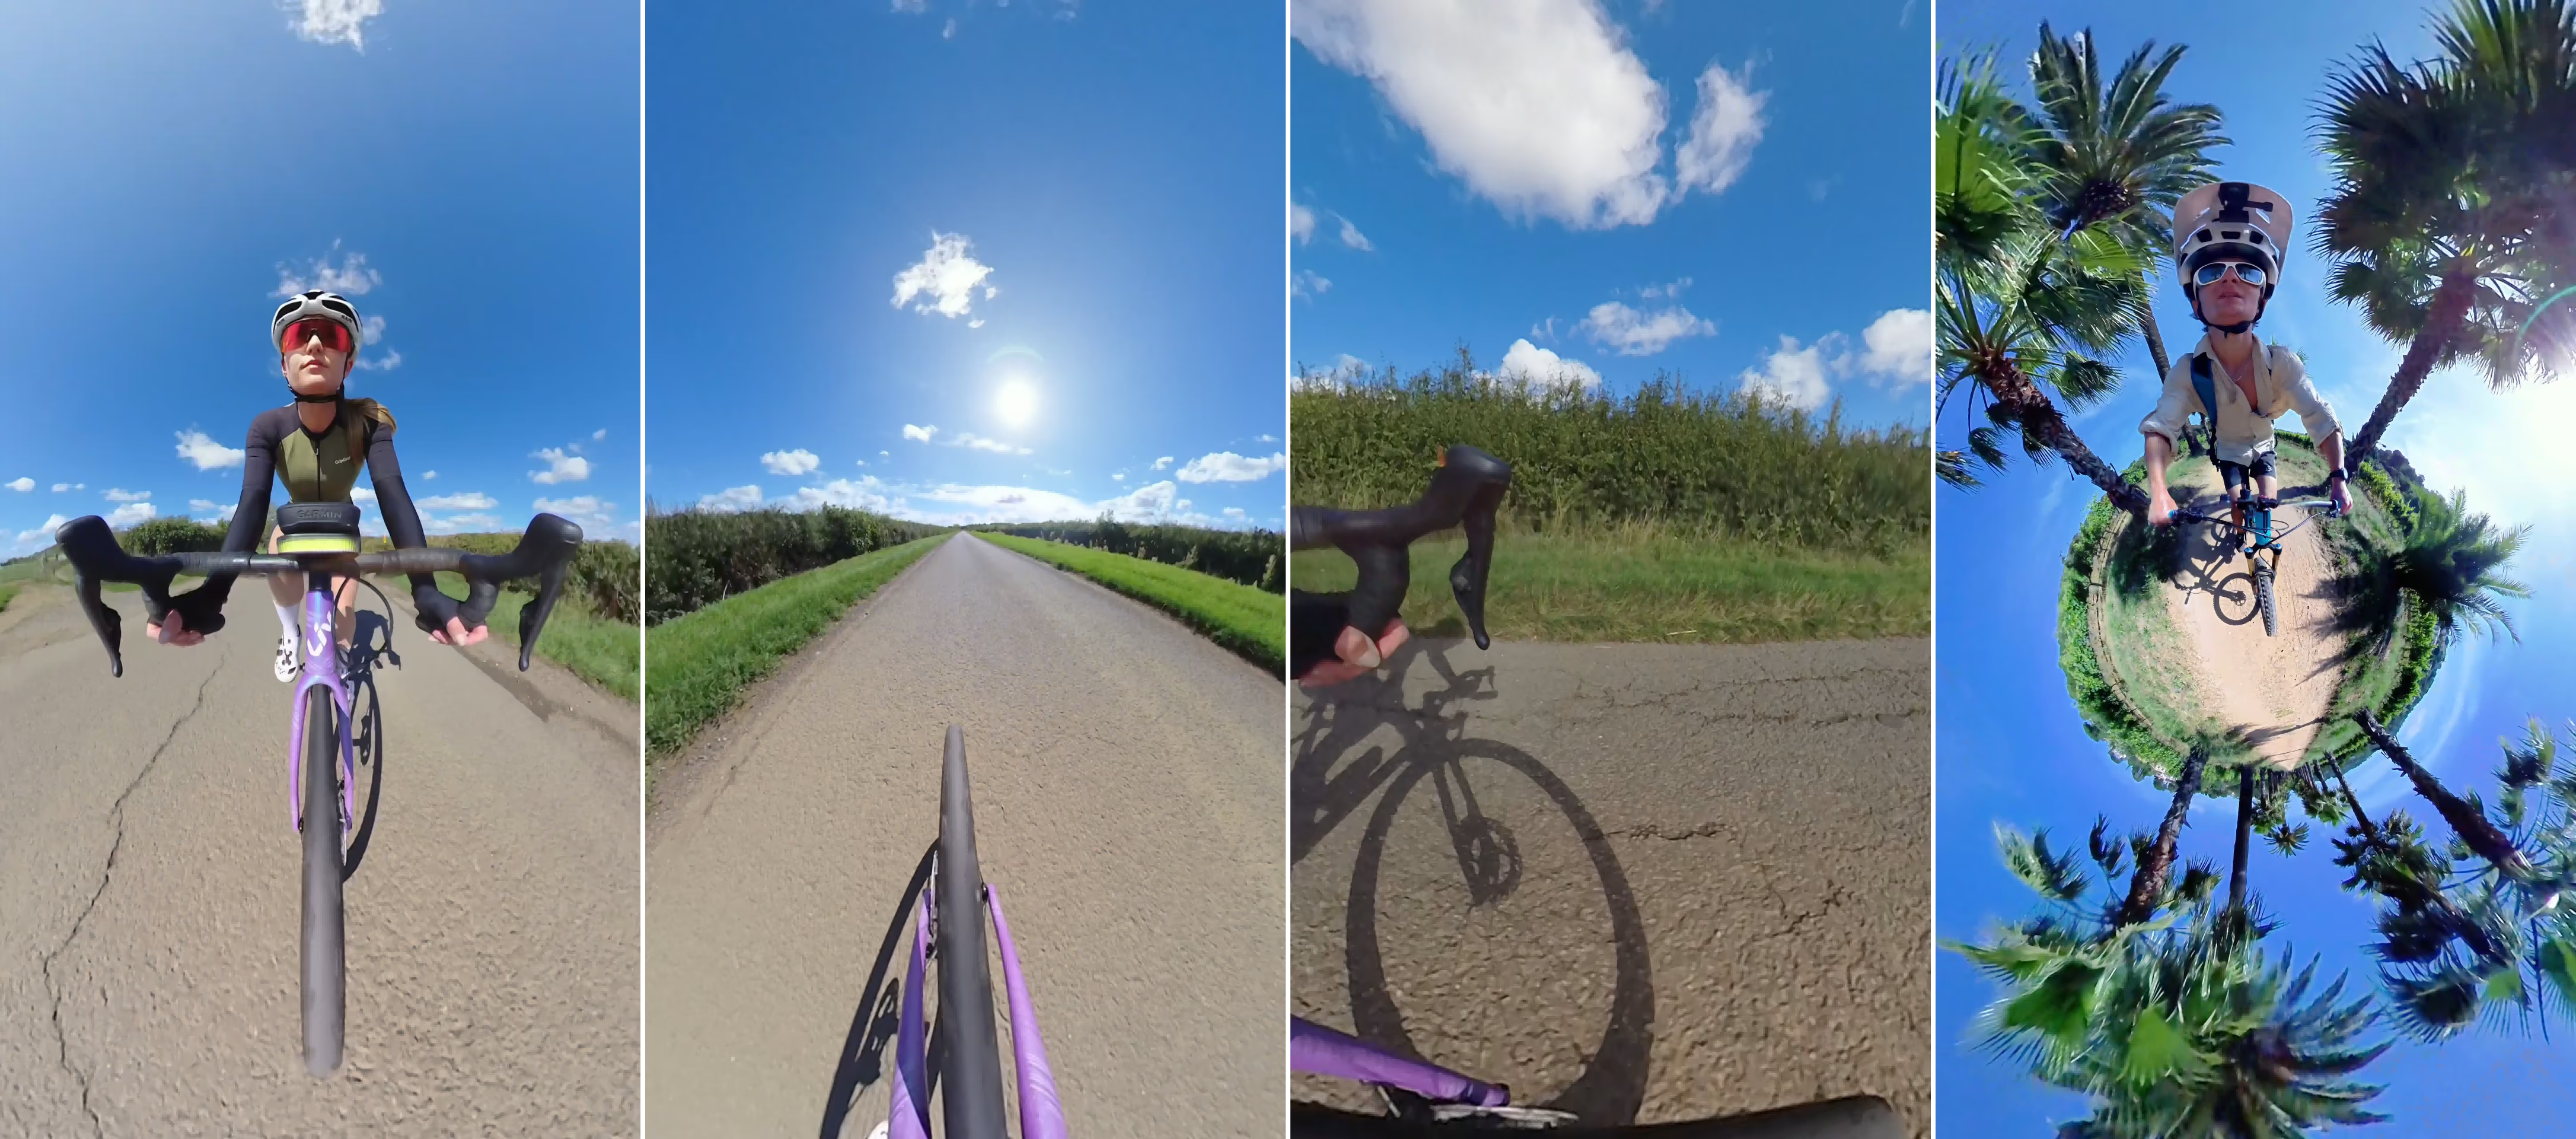
2.2 Rear View
Mount your AKASO 360 at the rear of your bike to capture yourself and your bicycle from behind. After shooting, use Reframe to keep yourself as the focus or bring other cyclists riding alongside or ahead of you into the shot.
It’s a great way to capture the experience of riding together.
Camera mounting position: Rear of the bicycle.
Recommended accessories:
Option 1: AKASO 360 Cycling Combo
The AKASO 360 Cycling Combo includes:
- 120cm Invisible Selfie Stick × 1
- Seat Rail Support Mount × 1
- Seatpost Mount Clamp × 1
Option 2: Individual accessories

2.3 Third-Person Follow Shot
Want footage that looks like someone is following you with a camera?
Secure the AKASO Camera Super Clamp Mount to a suitable section of your bike frame, then attach the AKASO 120cm Invisible Selfie Stick to extend the camera away from the bike.
This creates more distance between the camera and rider, making it easier to capture your bike and your full riding figure in the same shot.
Thanks to the invisible selfie stick effect, the stick disappears from the stitched 360° footage, creating the look of a floating camera following your ride.
It’s a fun way to add a cinematic touch to solo cycling videos.
Camera mounting position: A suitable section of the bicycle frame, with the selfie stick extending outward from the bike.
Recommended accessories:
- AKASO Camera Super Clamp Mount
- AKASO 120cm Invisible Selfie Stick

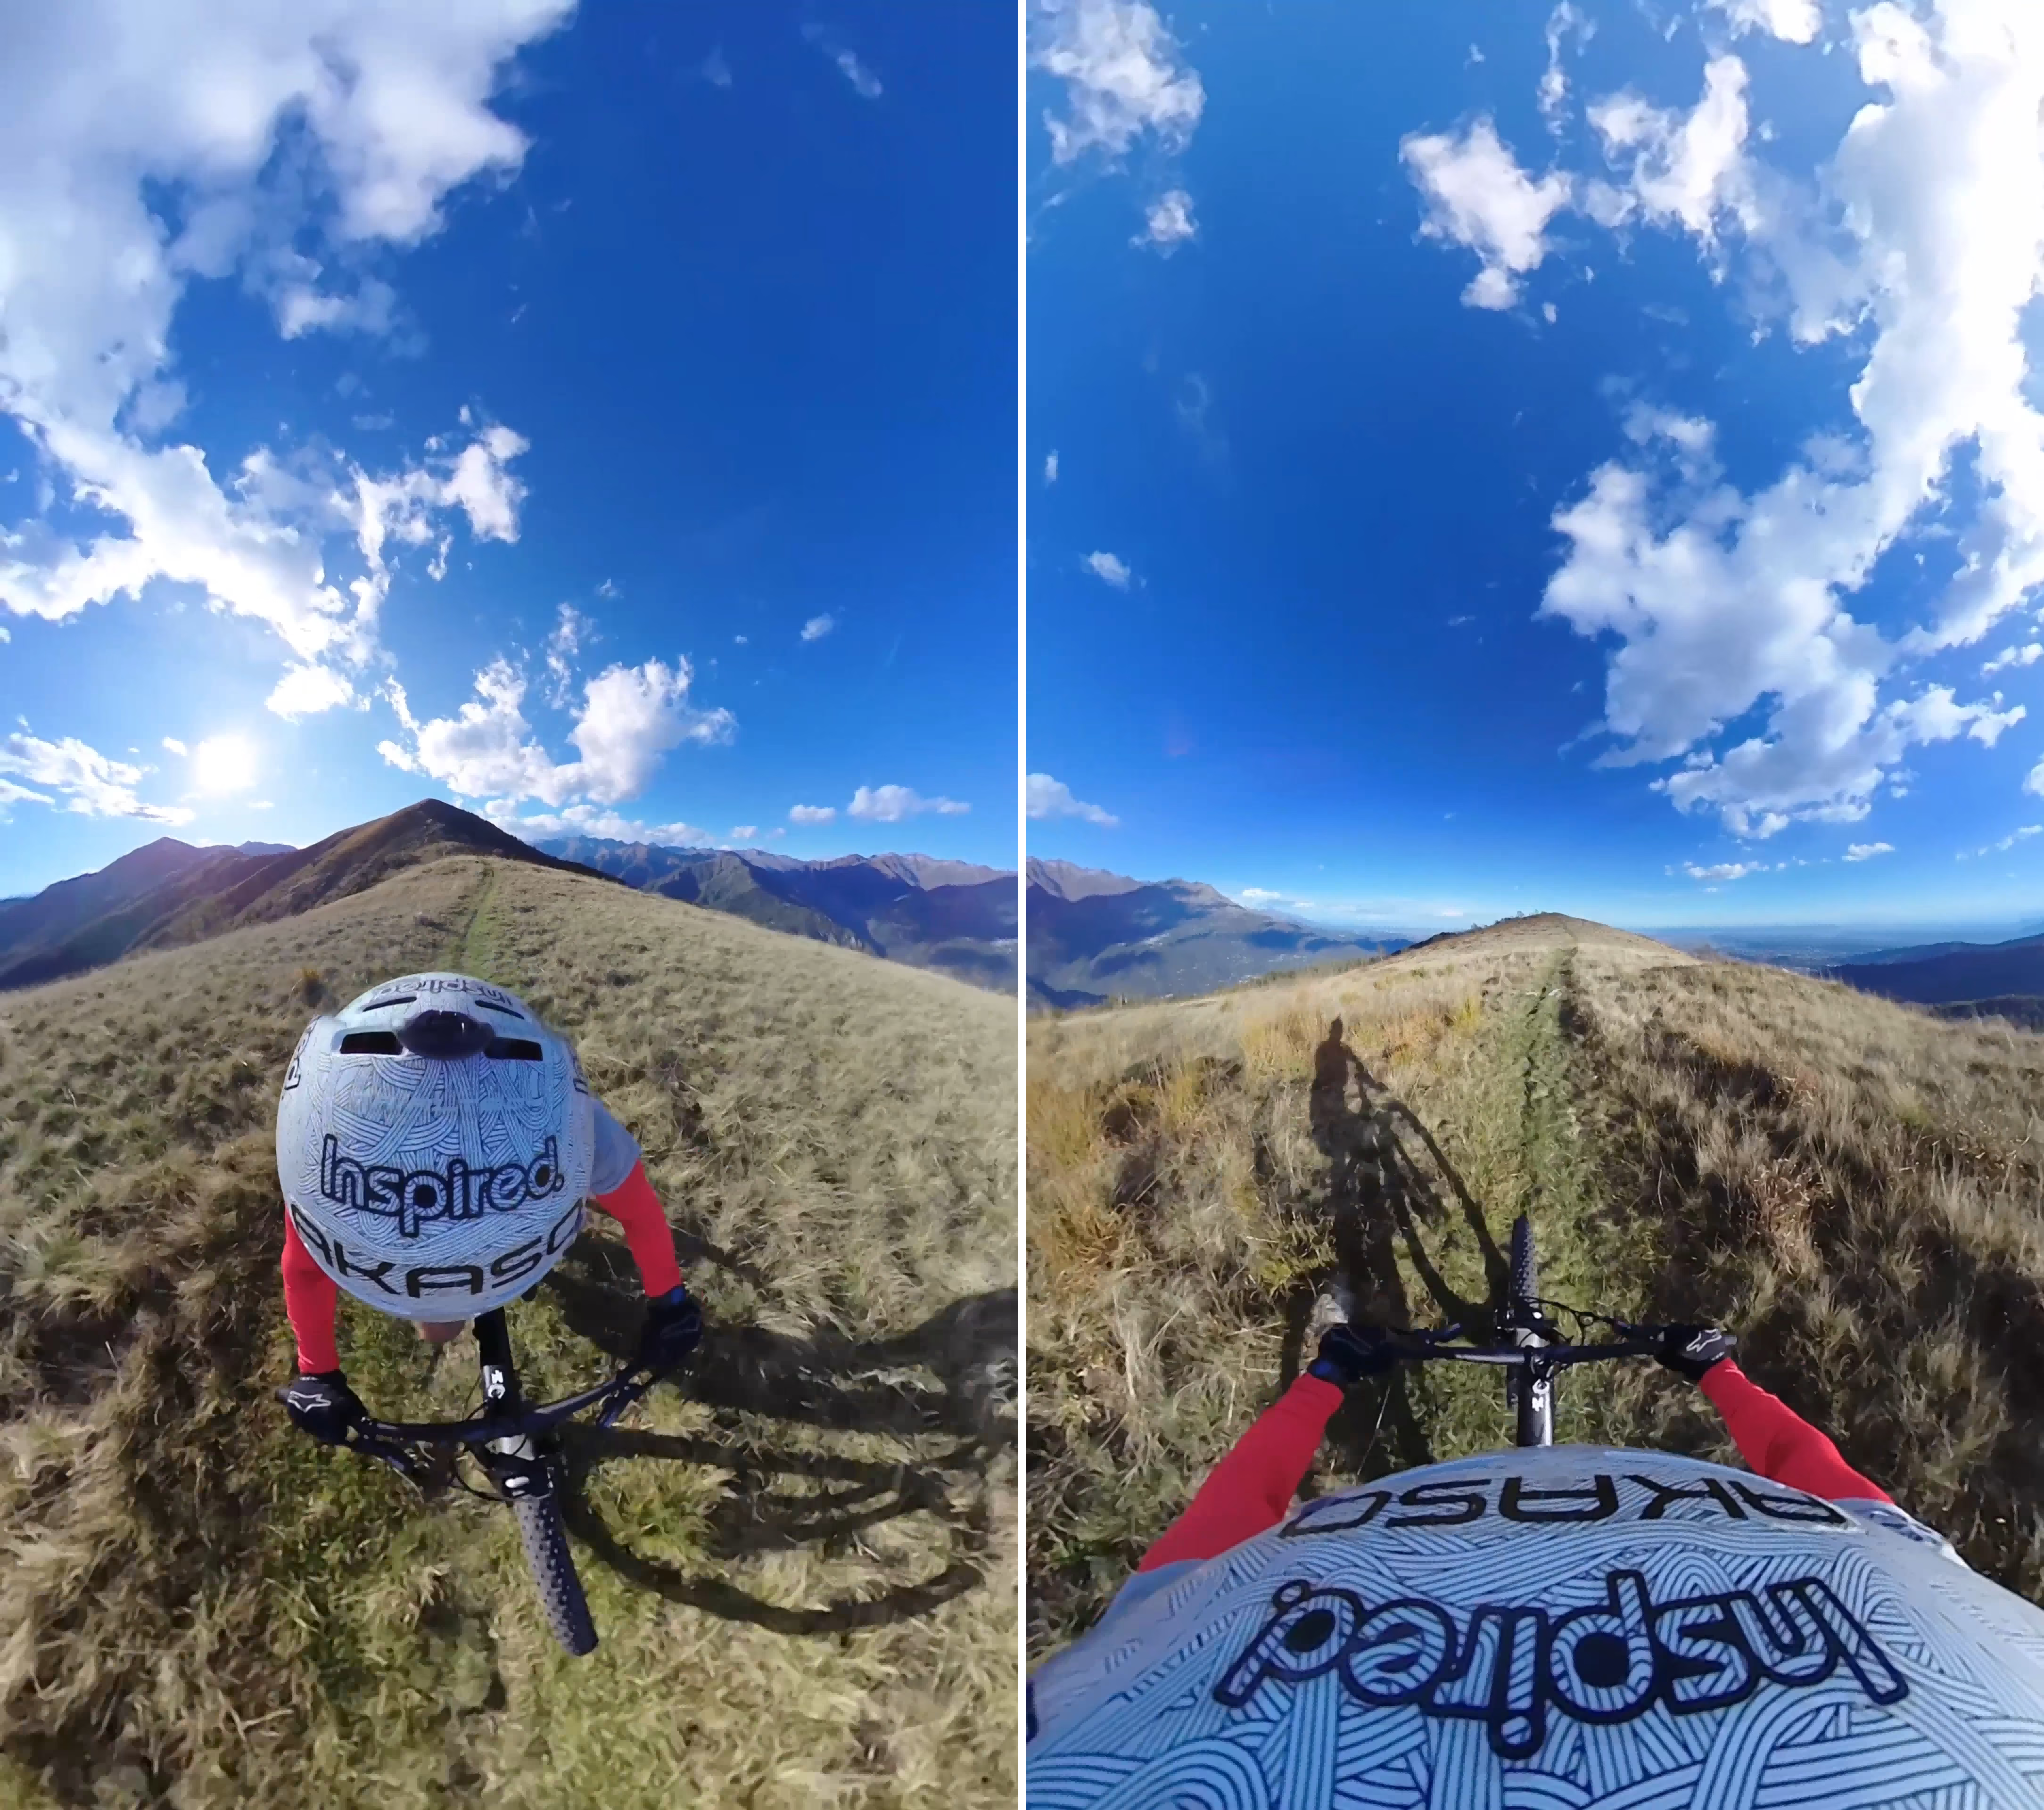
2.4 Helmet View
Mount your AKASO 360 on top of your helmet for a higher shooting perspective. As you turn your head, the camera follows your line of sight, capturing the ride from the rider’s perspective.
Camera mounting position: Top of the helmet.
Recommended accessory:
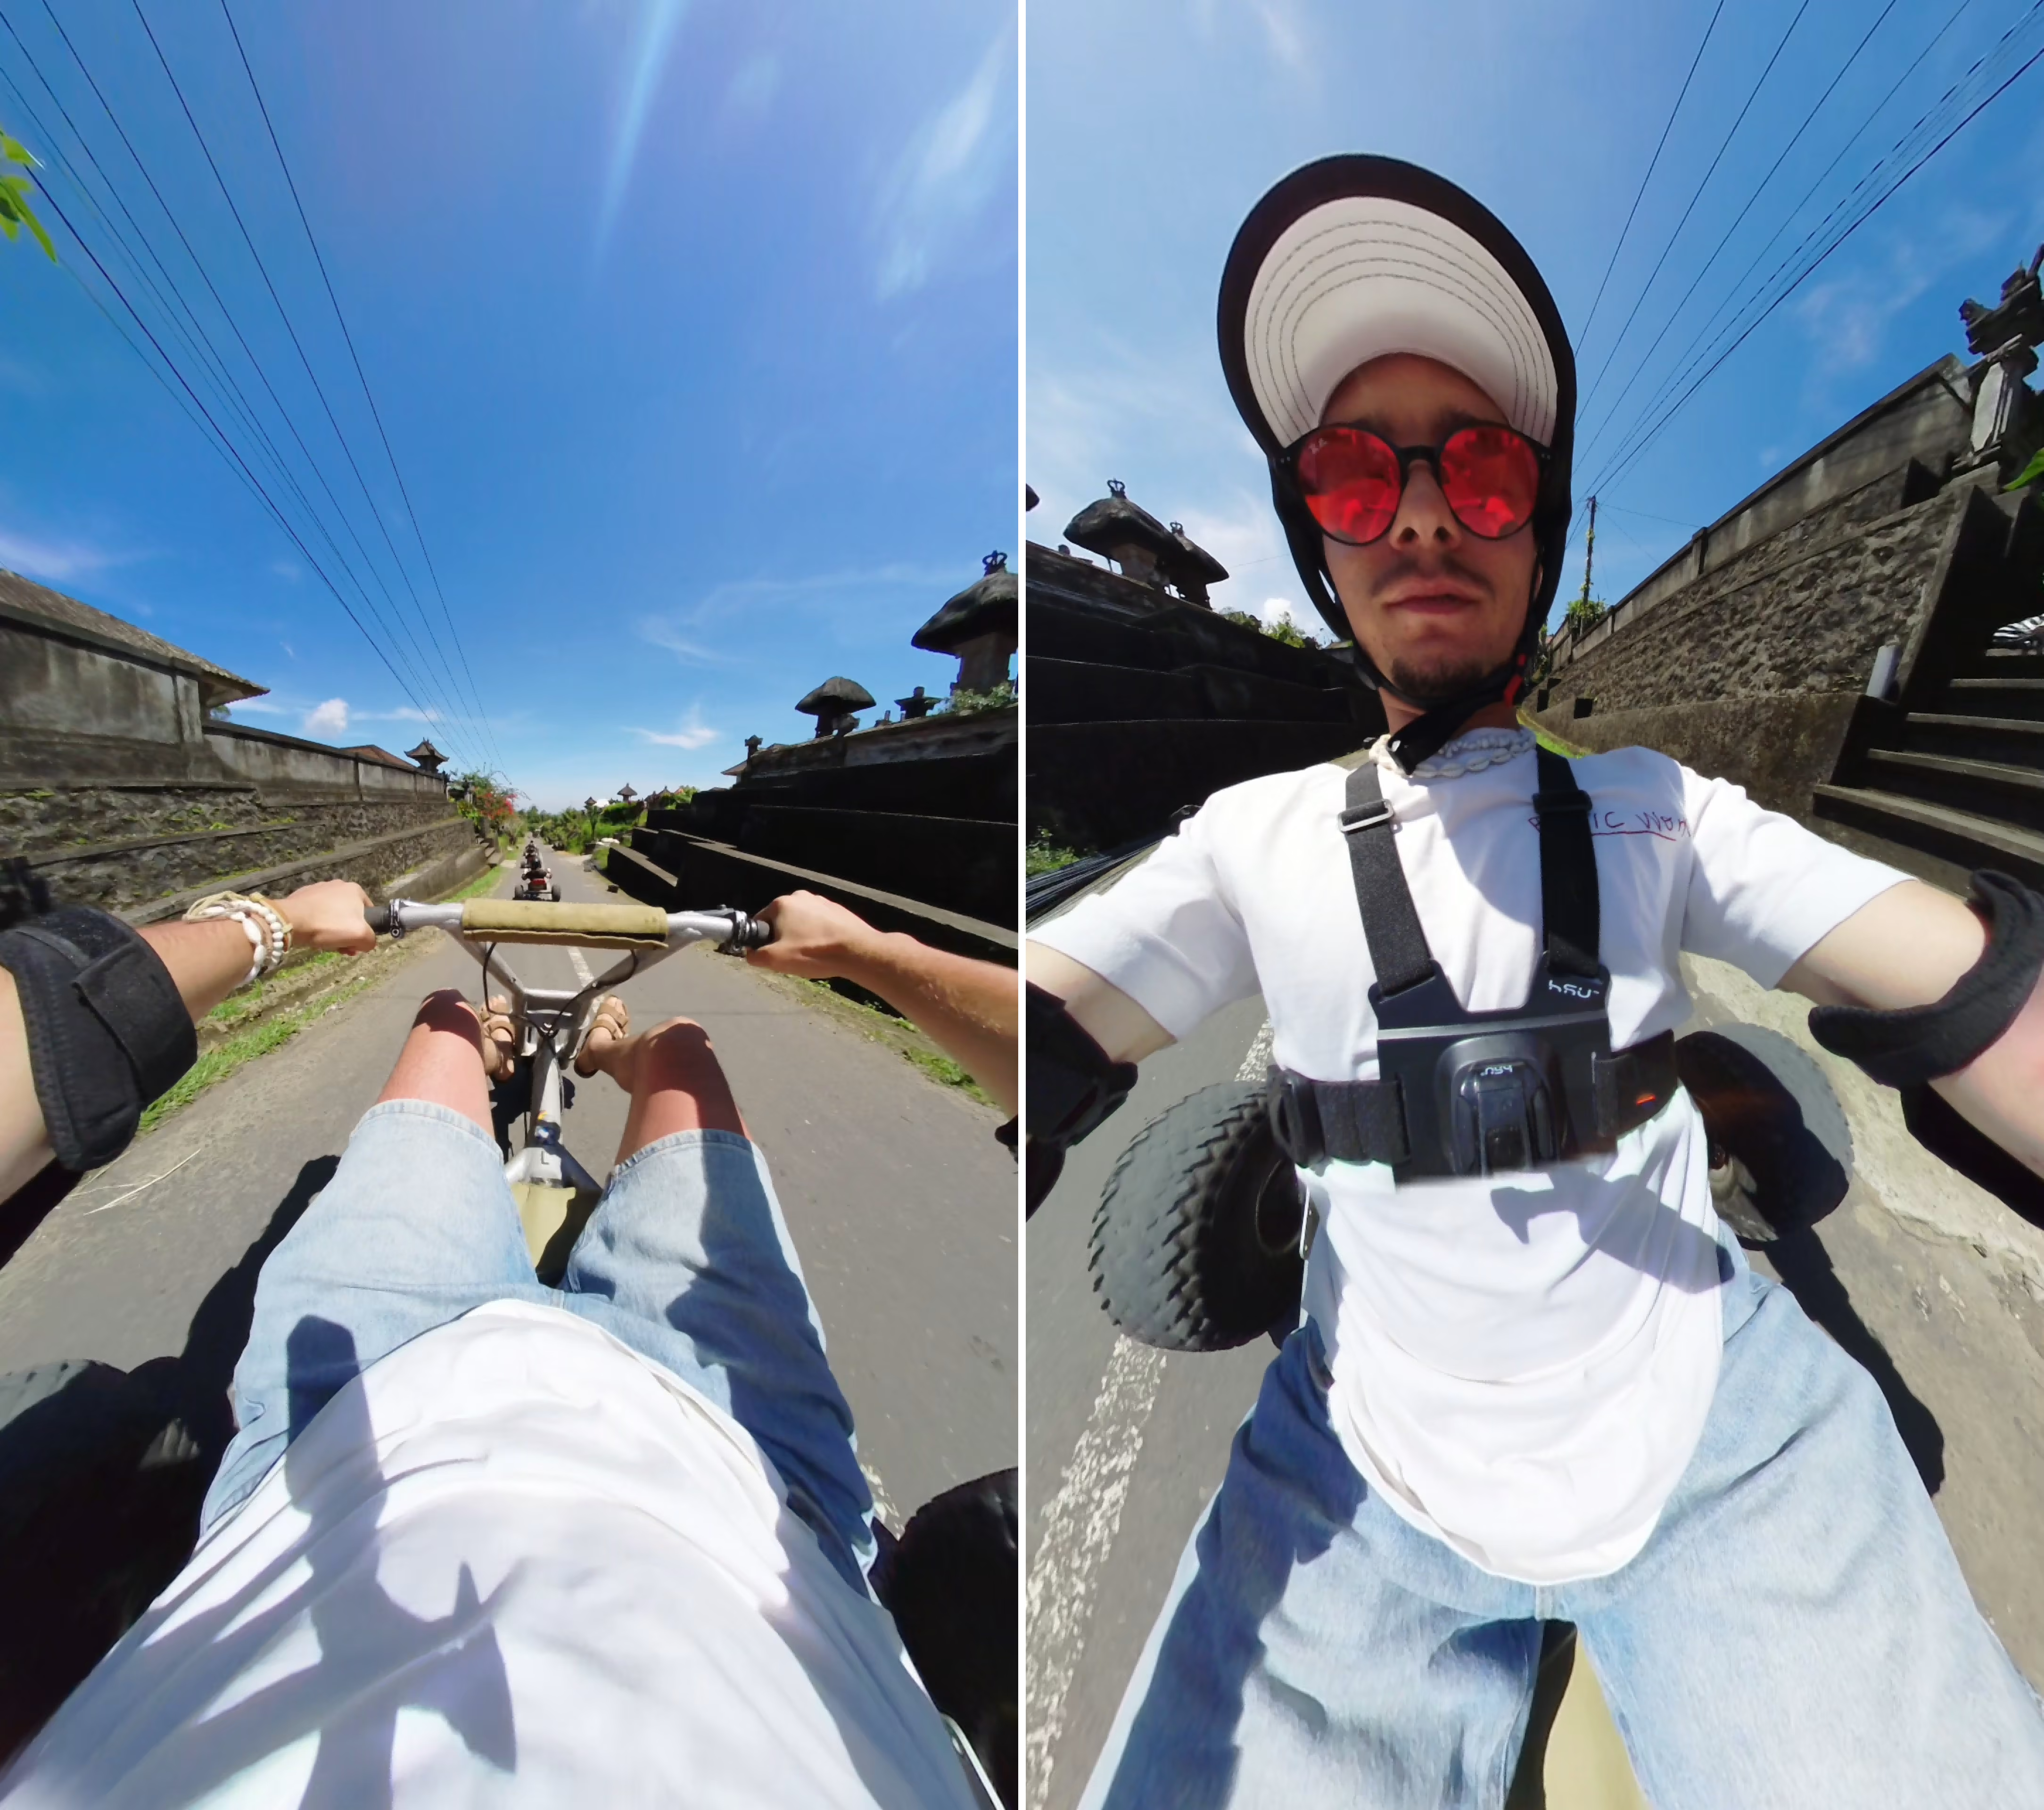
2.5 Chest POV
Want a more immersive view of what it’s like to ride? Try mounting your AKASO 360 on your chest.
Positioned close to your upper body, the camera brings your arms, hands, and handlebars into the frame. As you lean forward while riding, the camera’s perspective changes with your upper-body position, giving viewers a more up-close feel of the ride.
Camera mounting position: Rider’s chest.
Recommended accessory:
3. Get More Out of One 360 Recording
One of the biggest advantages of a 360 camera is that you don’t have to capture every angle separately.
After your ride, open your footage in the AKASO 360 App or AKASO 360 Studio and use Reframe to choose the views you want.
Here are a few ways to get creative with the same recording:
- Switch viewing directions: Highlight yourself, the road, or other cyclists in different parts of the footage.
- Add keyframes: Create smooth transitions between different viewing directions throughout the clip.
- Try different FOV effects: Experiment with Planet, Wide, Linear, and other projection styles to give your footage a fresh look.
- Create dynamic edits: Combine different views and camera movements to make your cycling video more engaging.
You can also explore SmartClip templates in the AKASO 360 App for a quicker way to create fun videos without spending too much time editing.
4. Camera Settings & Tips for Cycling
You don’t need to spend your entire ride adjusting camera settings. A few quick checks before heading out can help you get better footage.
Shoot in 5.7K 30FPS.
For 360° video, 5.7K 30FPS is a great starting point. It gives you more detail to work with when reframing your footage later.
Start with Auto Exposure Mode.
Auto Exposure is a convenient choice when lighting conditions change along your route. If the footage looks too dark, try increasing EV slightly. If bright areas lose detail, lower EV a little.
Keep both lenses clean.
Dust, fingerprints, and water spots can affect image quality. Check both lenses before recording and clean them when needed.
Secure your camera before riding.
Double-check that all mounts, screws, and connections are firmly secured. Pay particular attention to extended selfie stick setups and make sure they don’t interfere with the wheels or other moving parts.
Do a quick test recording.
Record a short clip before starting your ride. Check that the camera position and footage look the way you expect.
Put safety first.
Make equipment adjustments only when safely stopped. Avoid mounting positions that obstruct your vision or interfere with bike controls.
5. Protect and Carry Your AKASO 360 Gear
Cycling often means dealing with dust, dirt, bumps, and frequent gear changes. A few protective accessories can help keep your camera ready for the next ride.
AKASO 360 Lens Cap
The AKASO 360 Lens Cap helps protect both camera lenses from scratches when you’re not recording. Put it on when carrying or storing your camera, and remove it before shooting.
AKASO 360 Glass Screen Protectors
The AKASO 360 Glass Screen Protectors add an extra layer of protection to the touchscreen against everyday scratches and scuffs.
AKASO 360 Camera Carrying Case
The AKASO 360 Camera Carrying Case features a durable EVA hard shell and a soft interior to help protect your camera when carrying or storing it between rides.
Conclusion
Every ride has its own highlights, whether it’s a scenic route, a group ride with friends, or a quiet solo adventure.
With the AKASO 360, you can capture the whole experience first and choose how to tell the story later.
Try different mounting positions, explore new angles, and make every ride worth sharing!
Tips
View All > travel filming guide, 360 travel filming, travel filming accessories, creative travel video ideas
AKASO 360 Travel Filming Guide: Essential Accessories & Creative Ideas
11/19/2026 howto, skiing, snowboarding, winter sports, outdoor adventures
How to Film Skiing with AKASO 360: Accessories, Mounts & Angles
11/10/2026 indicator lights, camera status, LED indicators, camera settings, beginner guide
AKASO 360 Indicator Light Guide: What Each Light Means
10/28/2026