From fresh powder and smooth turns to incredible mountain views, there's so much worth capturing on a ski trip.
With the AKASO 360, you can record everything around you in 5.7K 360° video and pick your favorite angles later. No need to worry about pointing the camera in the right direction while you're skiing.
Whether you're skiing or snowboarding, a few well-chosen accessories and the right setup can help you get more out of every run. Here's what to bring, where to mount your camera, and a few tips for filming in the snow.
1. Choose the Right Accessories for Skiing
1.1 Everything You Need in One Combo
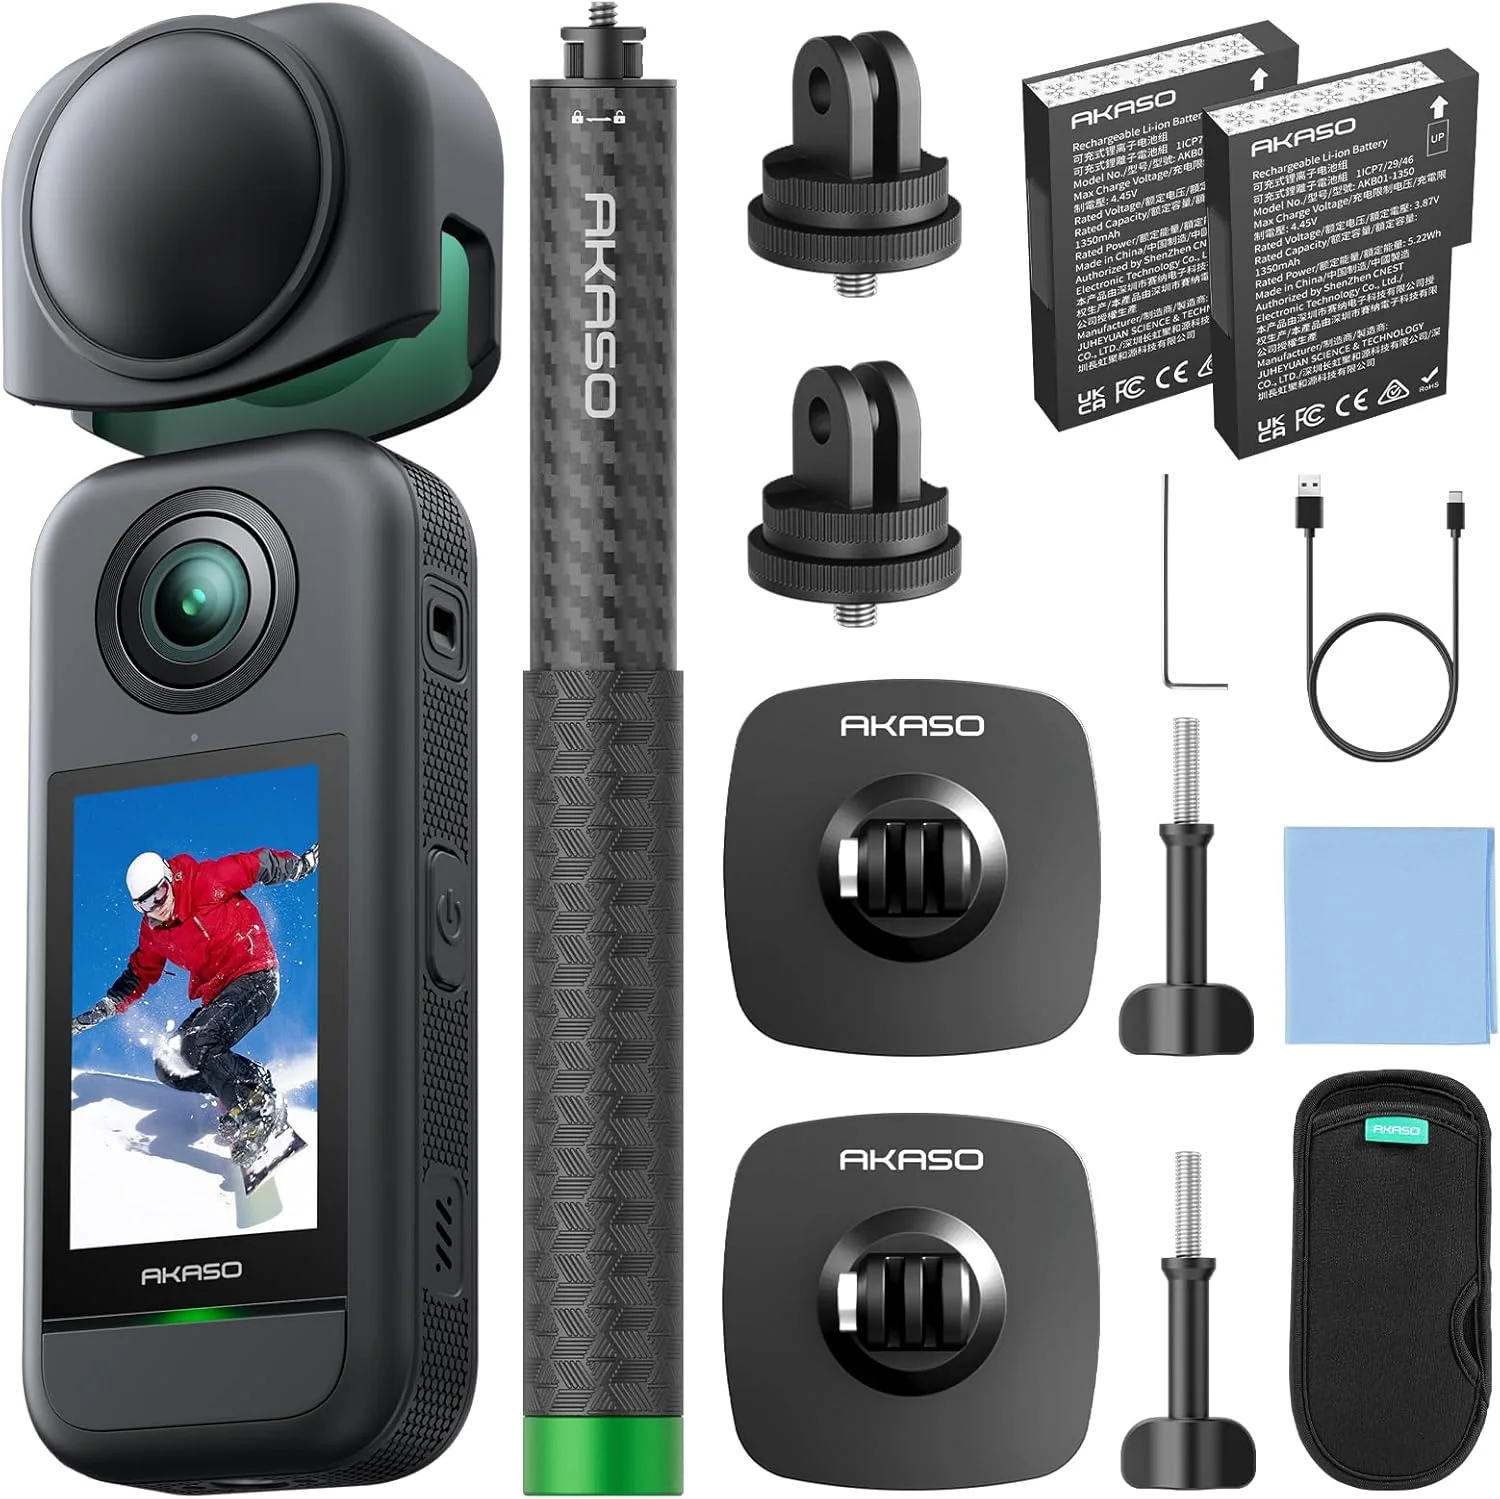
Taking your AKASO 360 to the slopes? The AKASO 360 Snow Adventure Combo makes it easy to get started.
It includes the AKASO 360 camera, a 1.27m selfie stick, Flexible Adhesive Mounts, A-Mounts, two cold-resistant batteries, and protective accessories.
It's a convenient way to get your winter filming essentials in one kit, without having to shop for each accessory separately.
Already have an AKASO 360? You can also pick up individual accessories based on how you like to shoot.
1.2 Accessories for Different Shooting Angles
Invisible Selfie Stick
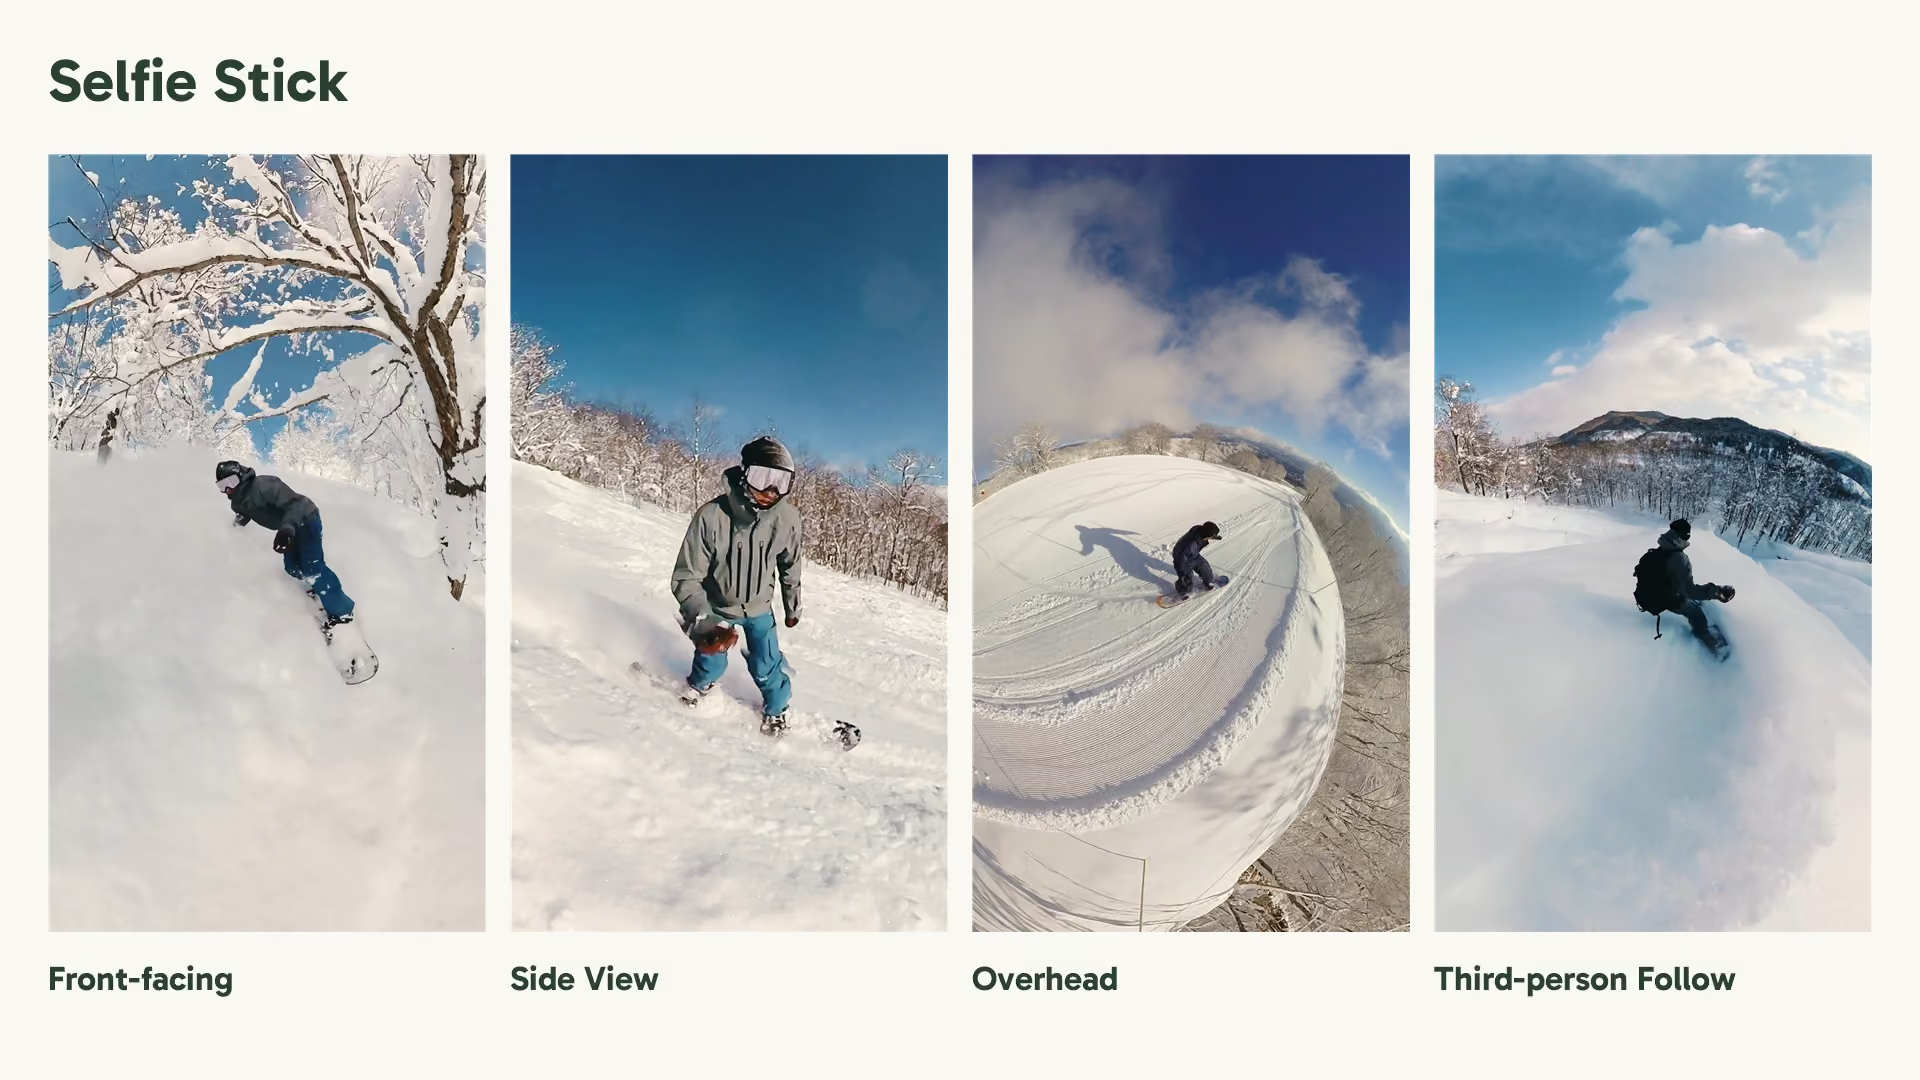
Filming solo? The AKASO 120cm Invisible Selfie Stick opens up plenty of creative possibilities.
Extend the stick in front of you, behind you, or out to the side to capture everything from front-facing shots to third-person follow views and side angles.
You can also hold it higher for an overhead perspective that shows more of the surrounding slopes.
Thanks to AKASO 360's invisible selfie stick effect, the stick is hidden in the stitched 360 footage, making it look like someone else is filming you.
Flexible Adhesive Mount
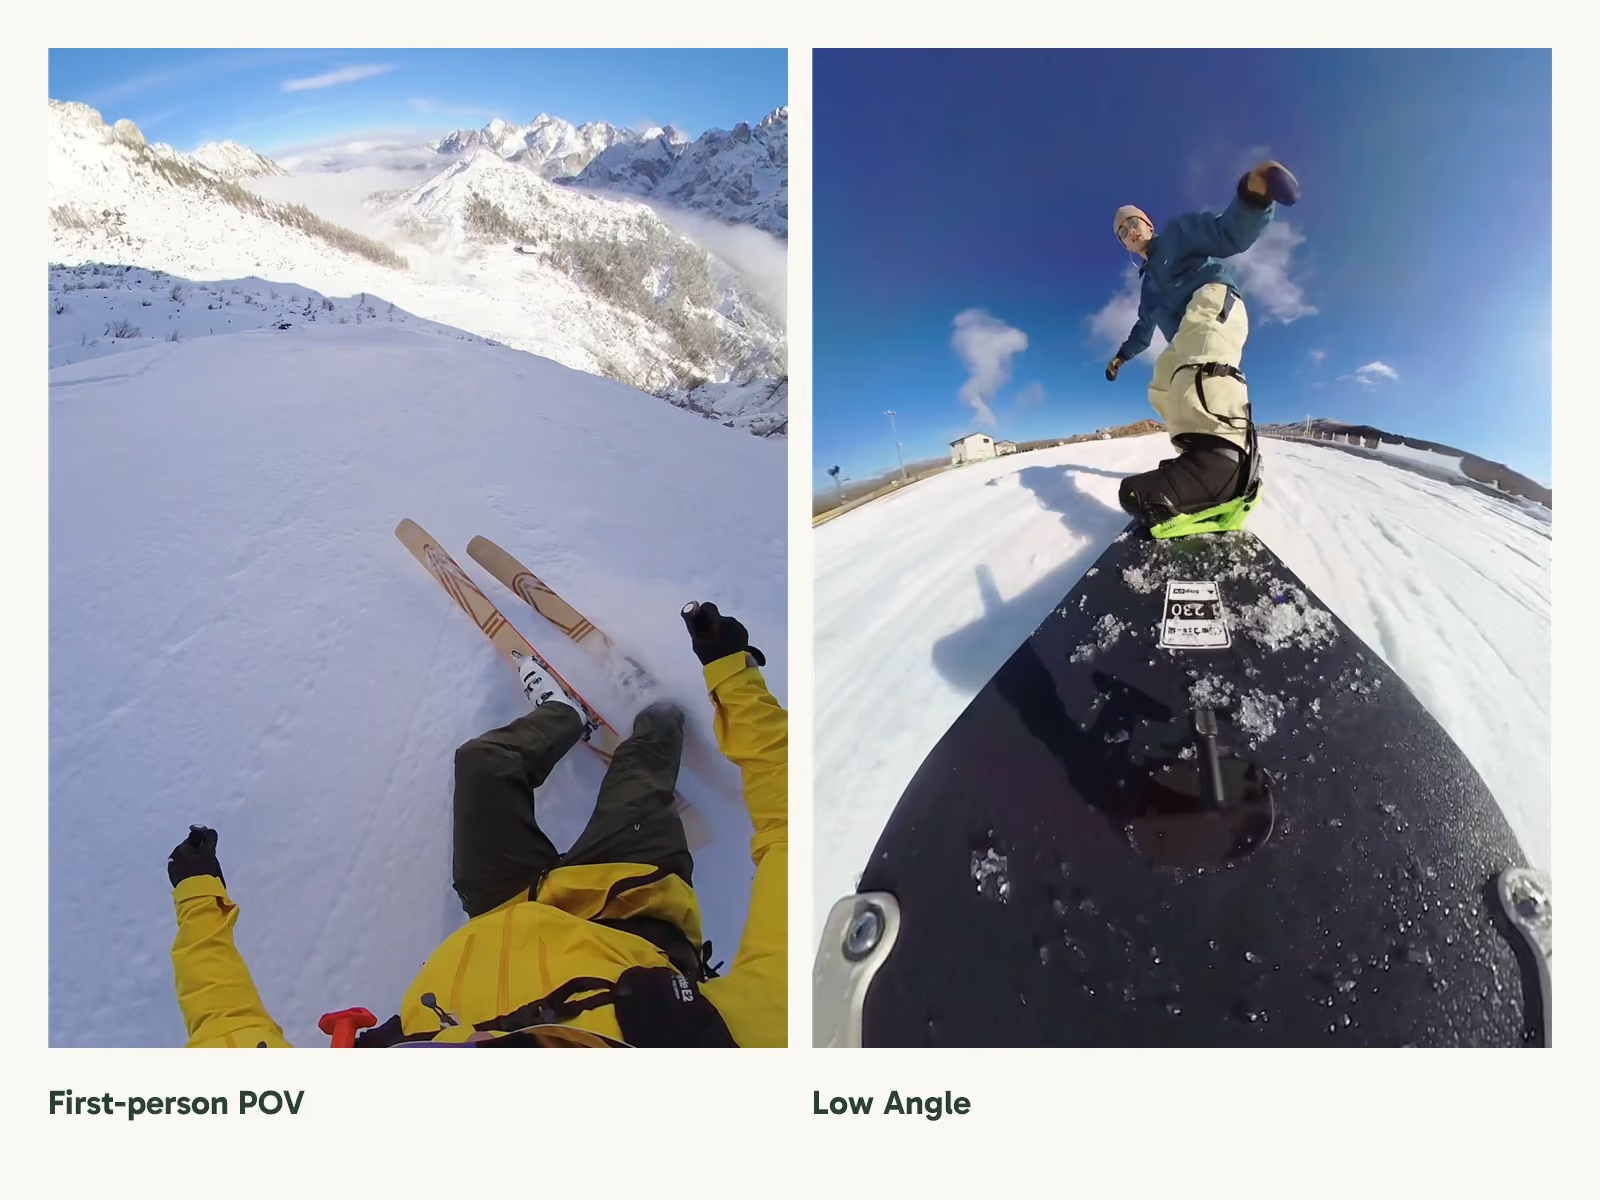
Want to keep your hands free? The AKASO Flexible Adhesive Mount, paired with an A-Mount, lets you attach your camera to suitable helmets, skis, or snowboards.
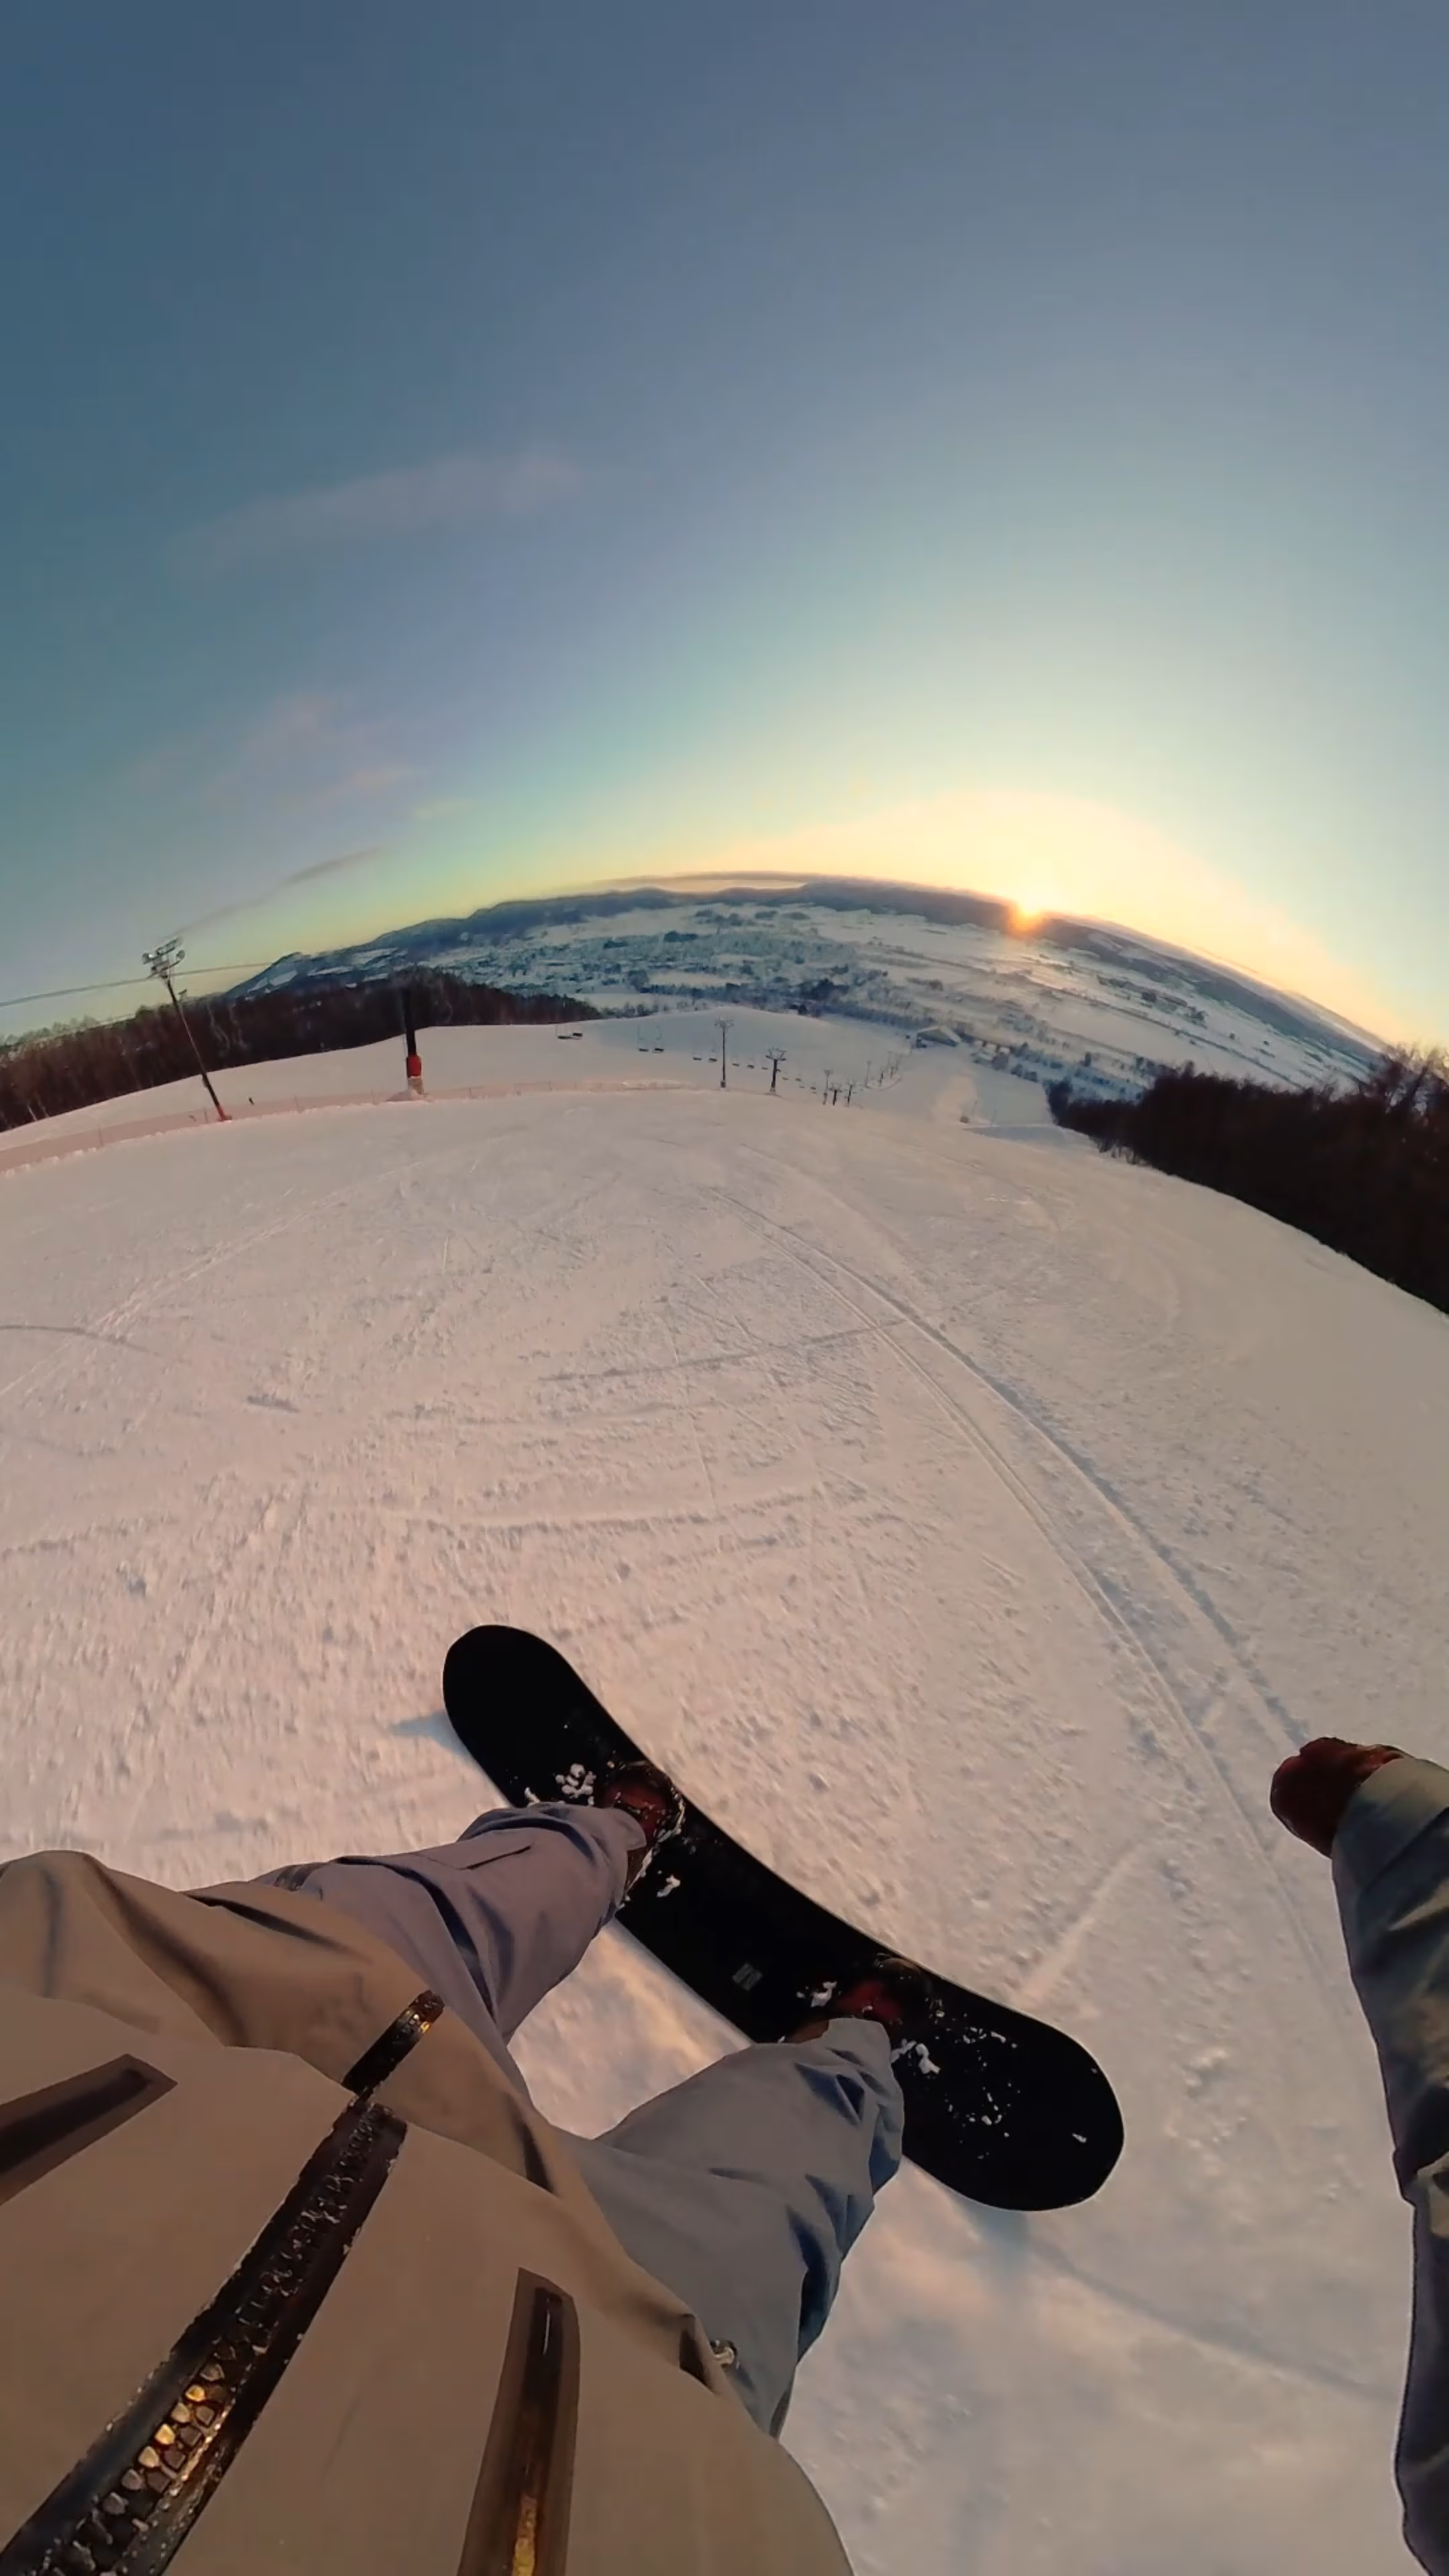
Mount it on your helmet for a first-person view of the trail ahead, or on your ski or snowboard for low-angle shots that bring you closer to the snow.
Chest Mount Harness
The AKASO Quick Release Adjustable Chest Mount Harness Strap is another great option for hands-free filming.
A chest-mounted camera captures a lower first-person perspective than a helmet mount. You can reframe the footage to focus on the slope ahead or bring elements like your arms, ski poles, and skis into view, depending on the camera position and what's visible in the recording.
1.3 Cold-Weather Essentials & Camera Protection
Cold-Resistant Battery
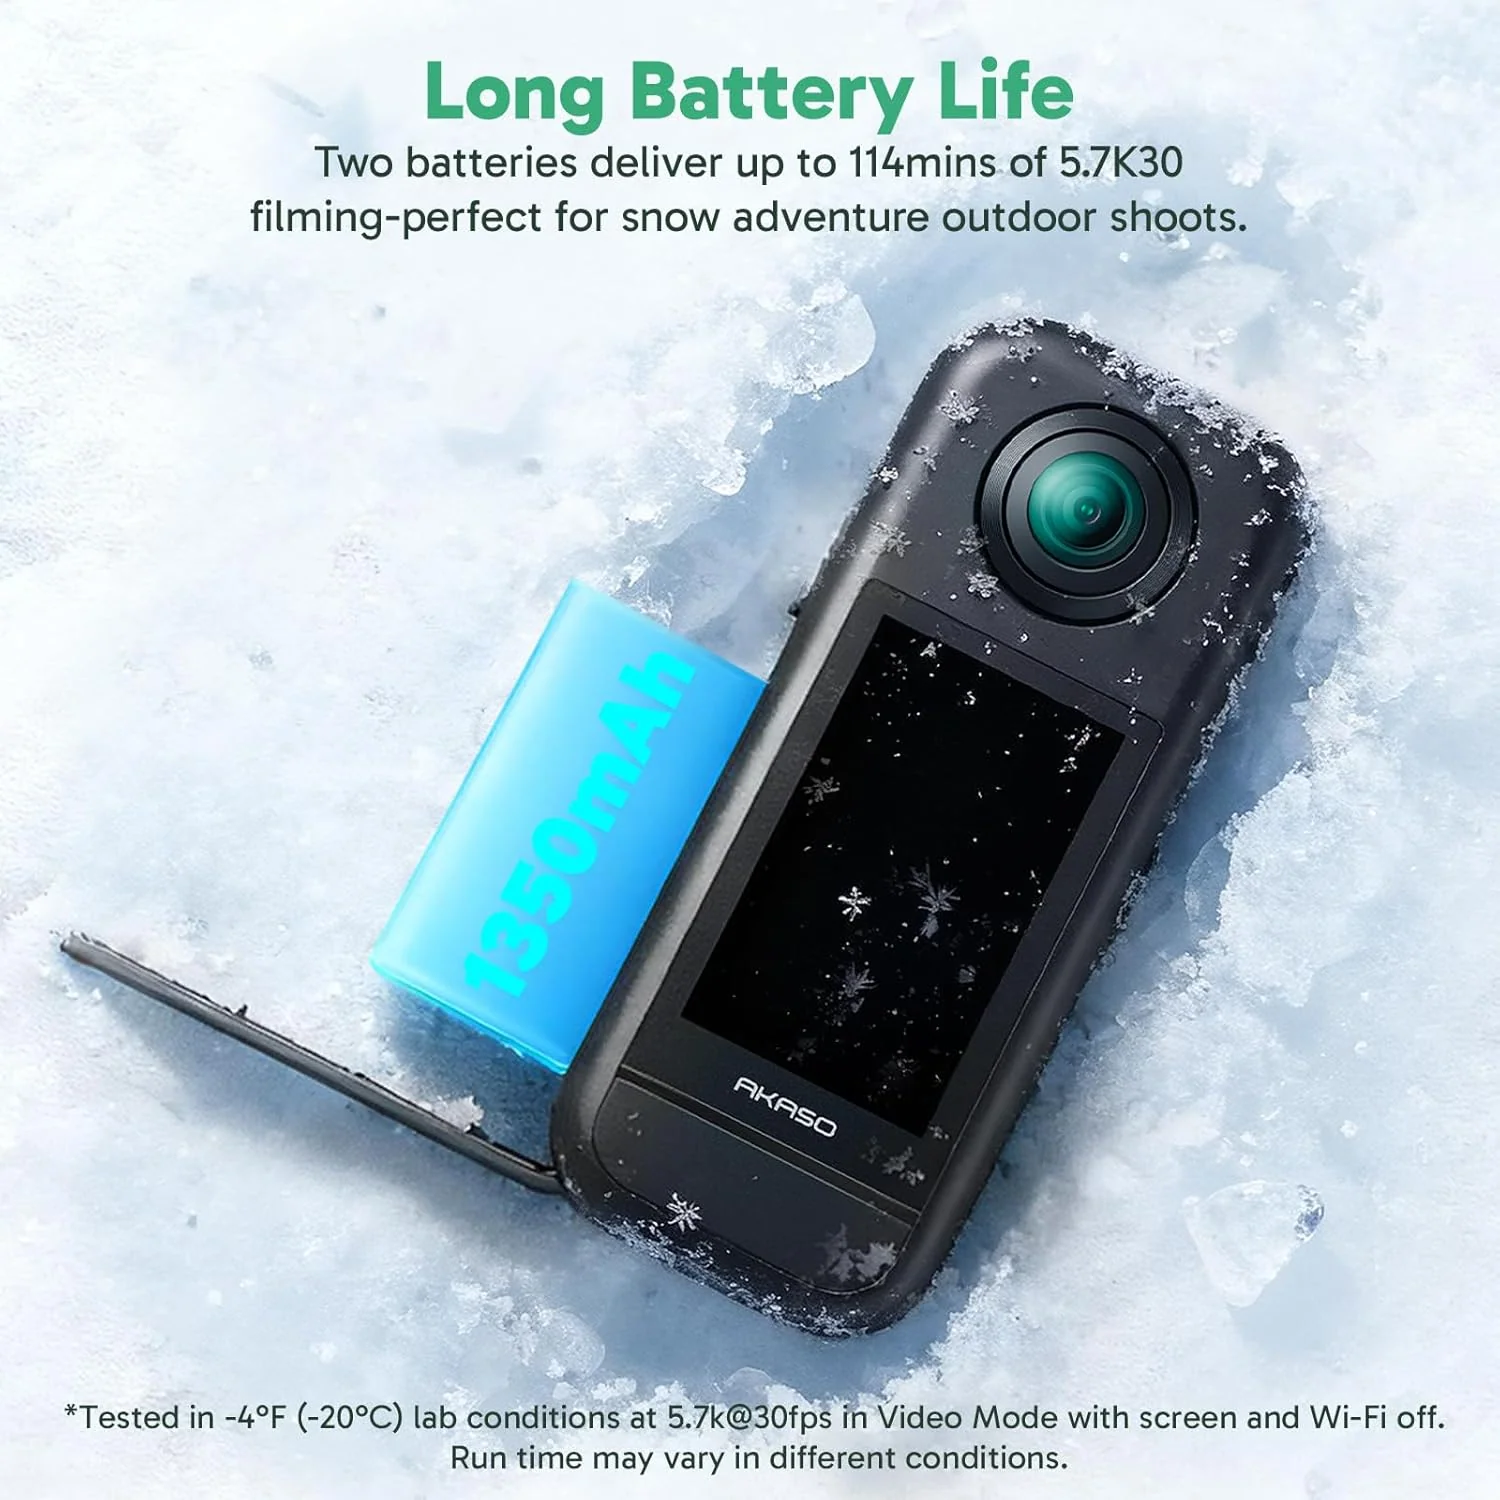
Cold temperatures can affect battery life, especially when you're spending hours outdoors.
The AKASO 360 Cold-Resistant Battery is designed for cold-weather adventures. Pack a spare for longer ski days, and keep unused batteries in an inner jacket pocket to help keep them warm.
Lens Cap
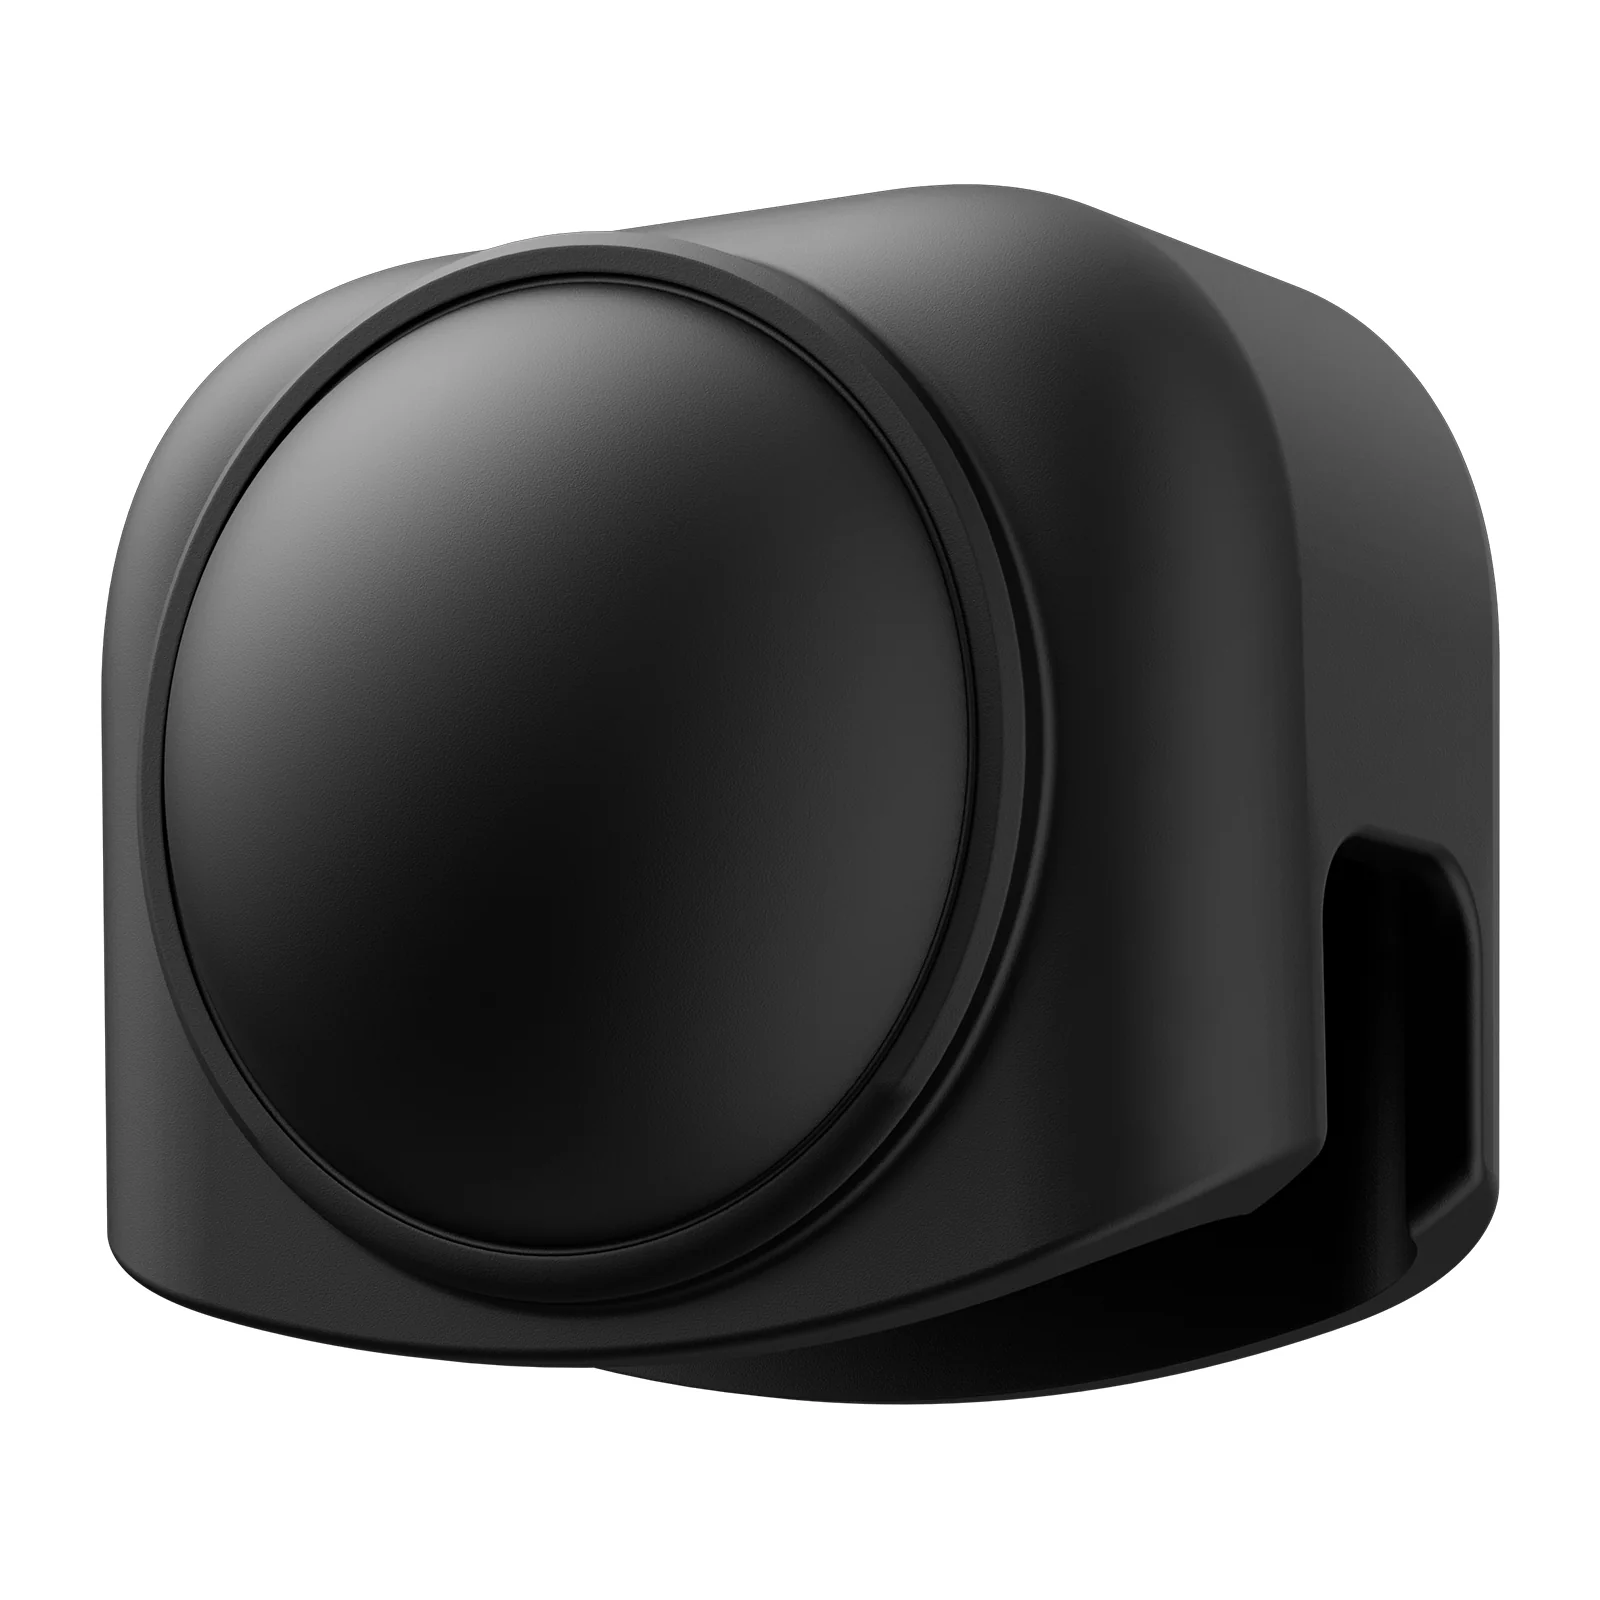
When you're not filming, the AKASO 360 Lens Cap helps protect both lenses from scratches while you're carrying or storing your camera.
Glass Screen Protectors
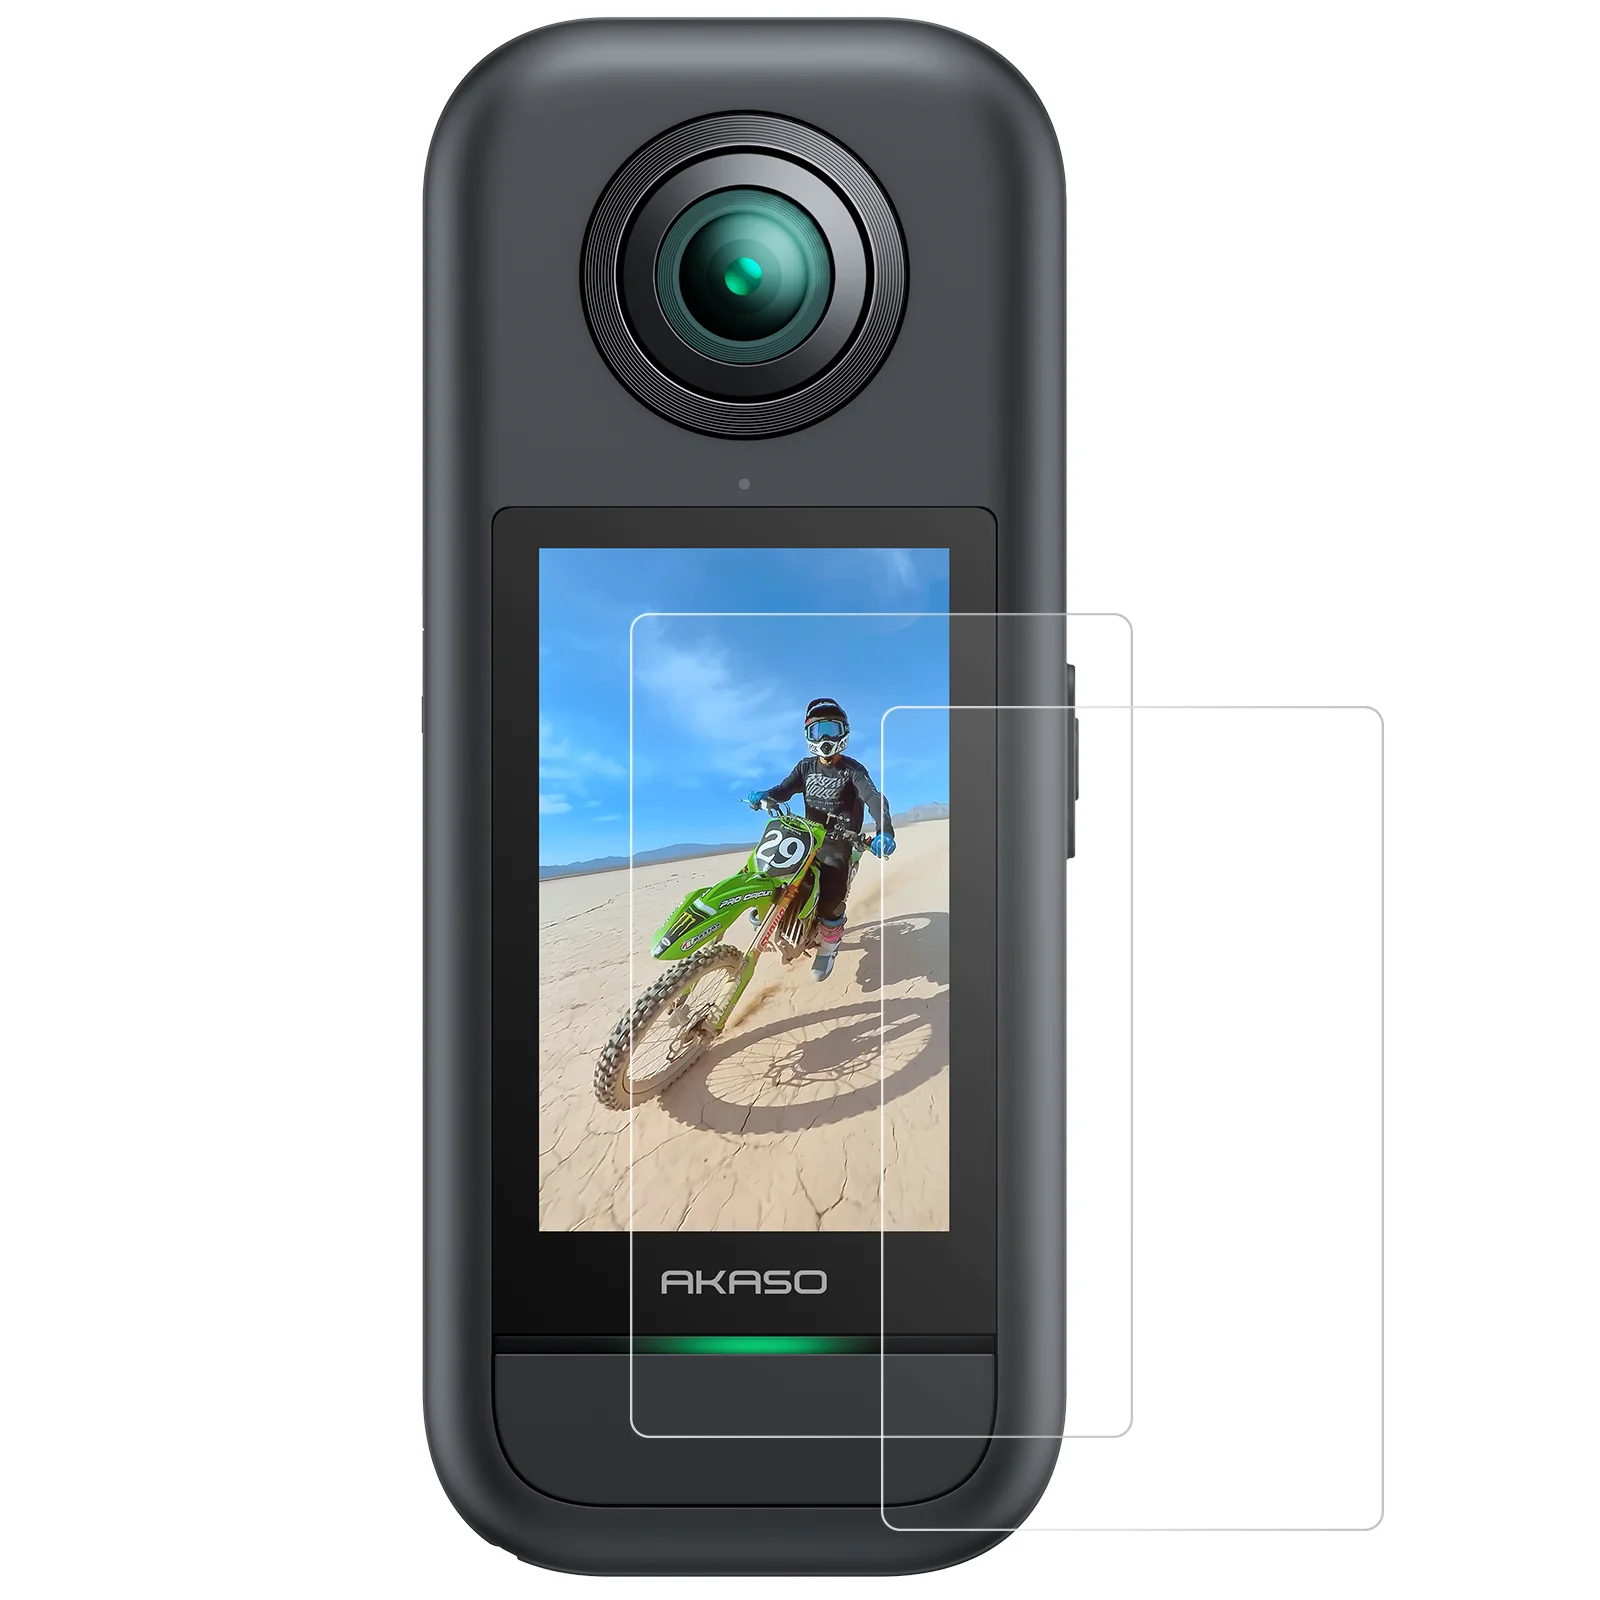
The AKASO 360 Glass Screen Protectors add an extra layer of protection to the touchscreen against everyday scratches.
https://shopakaso.com/products/akaso-360-glass-screen-protectors?utm_source=akasotech&utm_medium=blog
Camera Carrying Case
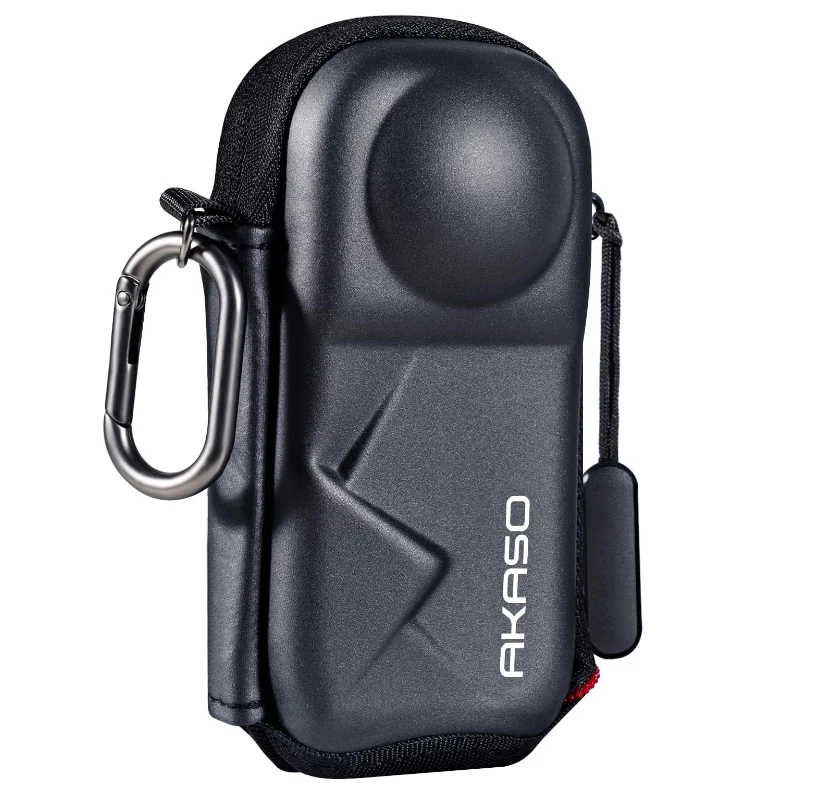
The AKASO 360 Camera Carrying Case keeps your camera protected and easy to pack, whether you're heading to the resort or taking a break between runs.
2. Best Camera Angles & Mounting Positions for Skiing
One ski run, plenty of ways to capture it. Where you place your AKASO 360 can completely change how your footage looks.
Here's a quick guide to choosing the right angle and accessory for your next run.
| Camera Position | Shooting Angle | What You'll Capture | Recommended Accessory |
|---|---|---|---|
| In front of you | Front-facing | Yourself with the mountains in the background | Selfie Stick |
| Behind you | Third-person follow | A follow-camera view of your run | Selfie Stick |
| Beside you | Side view | Turns, body movement, and snow spray | Selfie Stick |
| Above you | Overhead | A bird's-eye perspective of you and the slopes | Selfie Stick |
| Helmet | First-person POV | The trail ahead from your perspective | Flexible Adhesive Mount + A-Mount |
| Chest | Chest POV | The slope and, depending on framing, your arms, poles, or skis | Chest Mount Harness |
| Ski or snowboard | Low-angle | Snow-level details and ski or board movement | Flexible Adhesive Mount + A-Mount |
3. Camera Settings & Tips for Snowy Conditions
You don't need to spend your ski day adjusting camera settings. A few quick checks before heading down the mountain can go a long way.
Shoot in 5.7K 30FPS. This is a great starting point for 360 video, giving you more detail to work with when reframing your footage later.
Start with Auto Exposure. Snow can be tricky to expose correctly. If the snow looks gray or the image is too dark, try increasing EV slightly. If bright areas lose detail, lower EV a little.
Choose the stabilization that suits your shot. AKASO 360 offers two stabilization algorithms when editing your footage. Horizon Steady keeps the horizon level while allowing the view to follow camera movement. View Lock Steady helps keep the viewing direction more consistent with the view you've selected. Try both to see which works better for your footage.
Keep your lenses clean. Snowflakes, moisture, and fingerprints can affect image quality. Give both lenses a quick check before each run.
Keep spare batteries warm. Store unused batteries in an inner jacket pocket rather than leaving them exposed to the cold.
Do a quick test recording. Check that the camera is securely mounted, both lenses have a clear view, and the exposure looks right. You can decide on your final framing later when editing. Make any equipment adjustments in a safe spot, and follow the resort's safety rules.
4. Edit Your Skiing Videos on Mobile or Desktop
Once you're back from the slopes, it's time to put your footage together.
Both the AKASO 360 App and AKASO 360 Studio let you use Reframe to choose your favorite angles, add keyframes to create camera movements, and adjust the FOV to explore different projection effects, including Planet.
Want a quicker edit on your phone? The AKASO 360 App also has SmartClip templates that make it easy to create fun videos without spending much time editing.
If you'd rather work on a larger screen, AKASO 360 Studio gives you the same core editing tools on your computer.
Follow the AKASO 360 Mobile App Editing Tutorial or watch the AKASO 360 Studio Editing Tutorial for step-by-step instructions.
Make Every Snow Day Worth Remembering
The best part of a ski trip isn't always the biggest jump or the fastest run. Sometimes it's a perfect turn, fresh snow under your skis, or a mountain view that makes you stop and look around.
Whatever your favorite moment is, AKASO 360 gives you more ways to capture it and relive it from different angles.
Enjoy the slopes, and bring home the moments that matter.
Tips
View All > indicator lights, camera status, LED indicators, camera settings, beginner guide
AKASO 360 Indicator Light Guide: What Each Light Means
10/28/2026 AKASO 360 Studio, 360 footage transfer, 360 video import, desktop editing, beginner tutorial, file management
3 Ways to Transfer and Import 360 Footage into AKASO 360 Studio
10/22/2026 360 footage import, file transfer, mobile editing, beginner tutorial
3 Ways to Import 360 Footage into the AKASO 360 App
10/21/2026