Whether you're considering the AKASO 360 for motorcycle riding or preparing for your first ride with it, this guide will help you get started.
This guide covers the basics before you head out: mounting the camera, choosing a starting setup, understanding stabilization, and planning power for a longer ride.
Start with the AKASO 360 Motorcycle Combo
When filming a motorcycle ride, the mount matters as much as the camera. A secure mounting point and a steady angle make it easier to frame the rider, bike, and road.
What comes in the AKASO 360 Motorcycle Combo
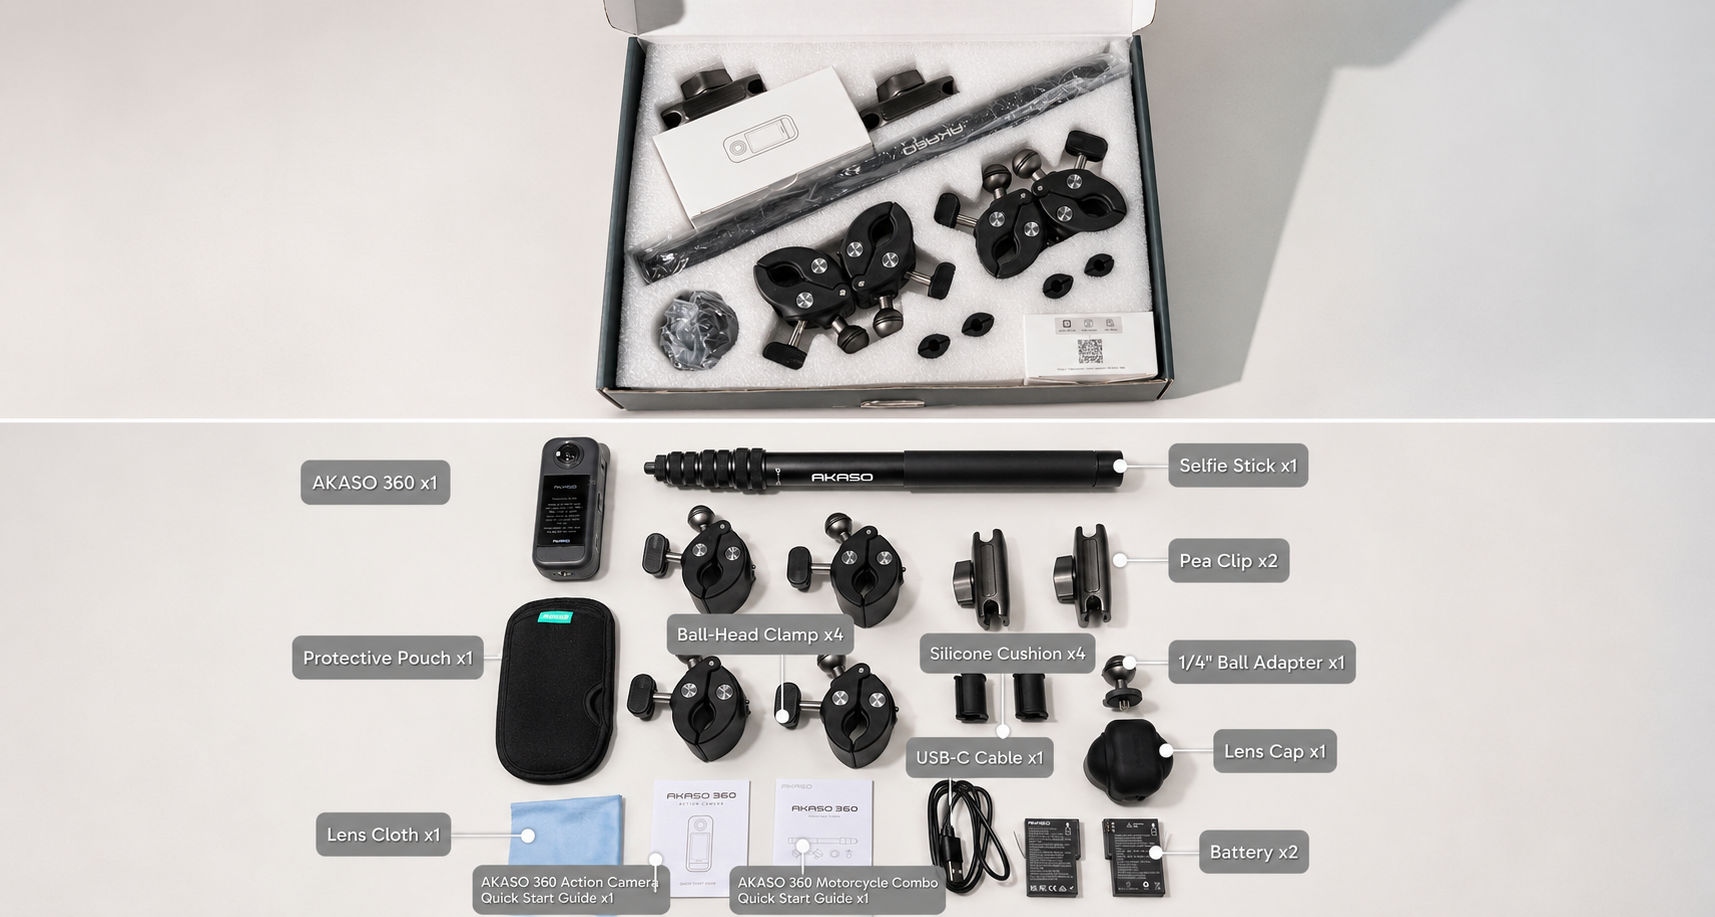
The Motorcycle Combo includes AKASO 360 and the mounting accessories for motorcycle filming. Bundle contents can vary, so check the product page and packing list for your order. The package shown here includes:
- AKASO 360 camera
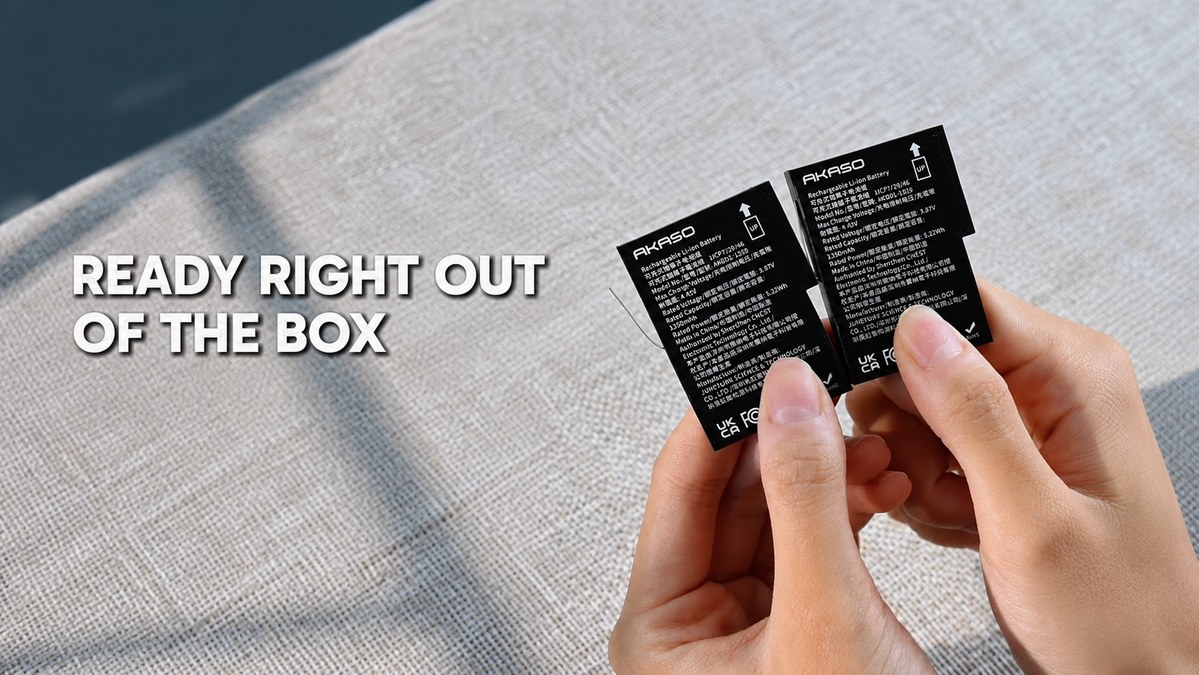
- Battery x2
- Protective pouch
- USB-C cable
- Lens cloth
- Lens cap
- Selfie stick
- Ball-Head Clamp ×4 (For Double Clamp Mount)
- Pea Clip ×2 (For Double Clamp Mount)
- Silicone Cushion ×4 (For Double Clamp Mount)
- 1/4" ball adapter
- AKASO 360 quick start guide
- AKASO 360 Motorcycle Combo quick start guide
Mount for a third-person riding view or POV
Third-person riding view: Choose this setup when you want the video to show more of the rider, motorcycle, road, and background. Attach the selfie stick to the motorcycle frame tube with two clamp assemblies so the camera sits farther from the bike.
POV handlebar view: Choose this setup when you want footage that feels closer to the rider's point of view. Place AKASO 360 near the handlebar with the ball-head clamp, pea clip, and 1/4" ball adapter.
Note: When using a selfie stick for motorcycle riding, secure the selfie stick at two mounting points whenever possible--for example, by using two clamp mounts, or by attaching the bottom of the selfie stick to a 1/4" mount and securing it with a second clamp mount. If only one clamp mount is available, attach it around the middle of the selfie stick. We do not recommend using the bottom 1/4" mount as the only mounting point for the selfie stick.
Set up for clear motorcycle footage
Before each ride, give the lenses a quick wipe. For the clearest footage, a bright, clear day is the better starting point.
For a first ride, the goal is not to fine-tune every setting. It is to capture enough detail, keep exposure simple, and leave room to choose the final angle later. A practical starting point is 360° Video Mode, 5.7K 30FPS, and Auto Exposure Mode:
360° Video Mode records the scene around the camera, so you can choose the final angle later.
5.7K 30FPS helps preserve detail after reframing.
Auto Exposure Mode adjusts to daylight changes on the road.
Choose the right stabilization mode for the ride
On a motorcycle, constant vibration and movement can make footage look shaky. Because a 360 camera captures the entire scene around it, the stabilization system has more image information to work with, helping keep footage smoother.
When choosing a stabilization mode, start with the type of result you want:
Off: Use this when you want a more natural camera movement, or when you want to compare how the footage looks before and after stabilization.
Horizon Steady: Use this for most motorcycle riding clips when you want the image to stay level while the viewing direction still follows the camera's movement.
View Lock Steady: Use this when you have set a keyframe direction during editing and want the footage to keep looking that way while also staying level.
Keep recording longer on motorcycle rides
Longer motorcycle rides often require more planning than a short recording session. AKASO 360 records for up to 60 minutes at 5.7K 30FPS under laboratory conditions, so it's worth planning your power setup before you head out.
For a short ride, you can start with:
A fully charged battery
A formatted microSD card with enough free space
A short test clip before leaving
For longer rides, plan around the route:
Prepare enough spare AKASO 360 batteries, charge them before you leave, and swap them at planned stops.
AKASO 360 supports recording while charging. If your mount position and cable routing allow a secure external power connection, you can keep recording on longer rides.
Save recording time for the sections you care about most.
Do a final pre-ride check
Before pressing record, it is worth taking a minute to check the essentials:
Ball-head clamps are tightened.
Pea clips are tightened.
The selfie stick is locked.
Both lenses are clean.
The lens cap has been removed.
Battery or external power is ready.
The microSD card has enough space.
The camera is set to 360° Video Mode, 5.7K 30FPS, and Auto Exposure Mode.
The stabilization mode matches the type of shot you want.
Record a 10- to 20-second test clip and play it back on the camera or in the AKASO 360 App. If the clip saves normally, the mount stays steady, and the angle looks right, you can start the ride.
Related guides:
AKASO 360 Quick Start: Make Your First Video in 10 Minutes
How to Edit AKASO 360 Footage After Shooting: Mobile App Editing Tutorial
How to Choose the Right microSD Card for AKASO 360
Notes:
Actual recording time can vary with temperature, settings, Wi-Fi use, and how often you start or stop recording.
For external power recording, remove the battery and connect the cable directly to help reduce the risk of battery abnormalities and overheating.
Tips
View All > Motorcycle Camera Angles, Motorcycle Camera Mounts, 360 Camera Motorcycle Filming, Motorcycle Riding Videos
7 Best Motorcycle Camera Angles for 360 Cameras
10/15/2026 Motorcycle Accessories, Motorcycle Camera Mounts, Motorcycle Filming, Motorcycle Riding, 360 Camera Accessories
Best AKASO 360 Accessories for Motorcycle Riding
10/14/2026 AKASO 360 tutorials, mobile video editing, 360 video clarity, troubleshooting, beginner guide
AKASO 360 App Guide: Tutorials, Tips & Troubleshooting
10/14/2026